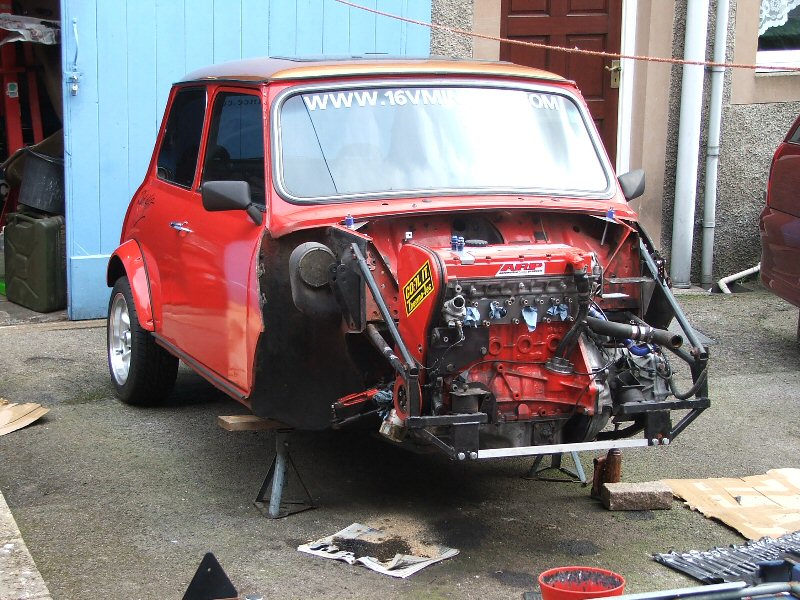
Collecting car from Rightline Motorsport
.JPG)
At Rightline
.JPG)
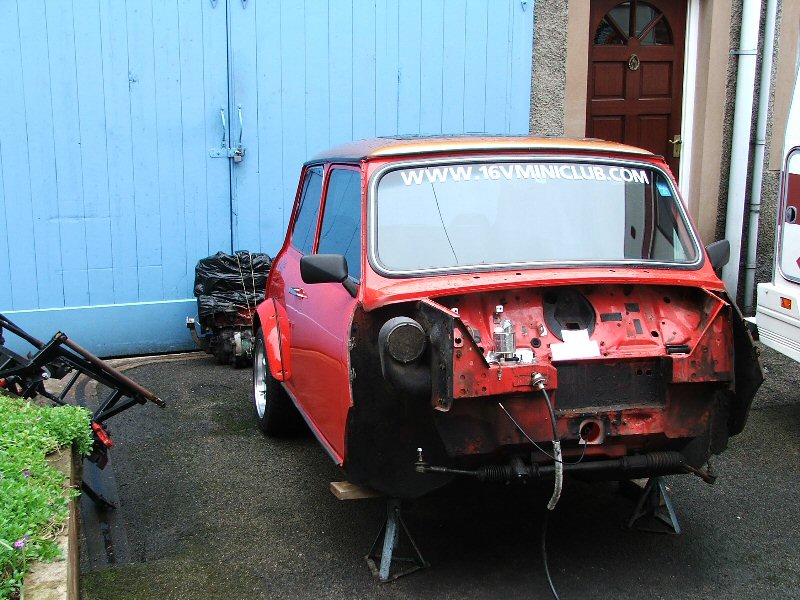
At Rightline
.JPG)
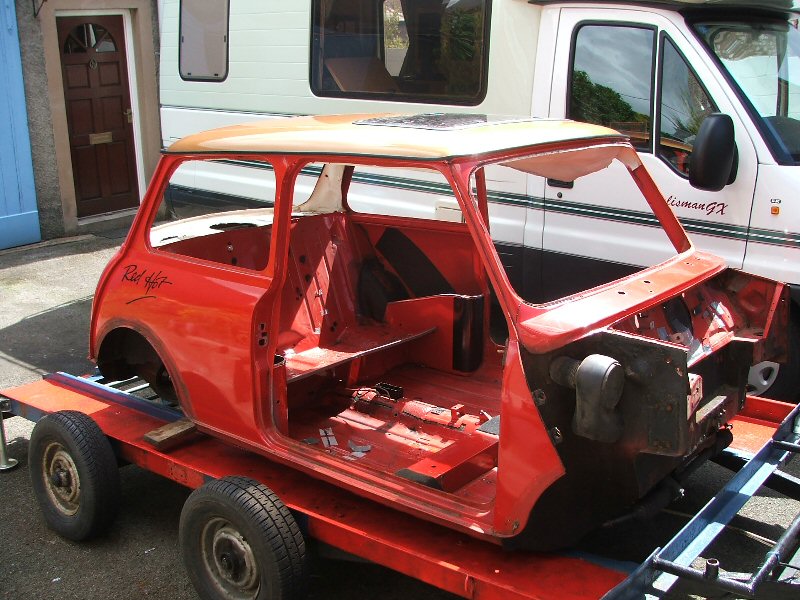
At Rightline
.JPG)
Home at Last
.JPG)
Time to unload
.JPG)
Cheers for the trailer Mark!
.JPG)
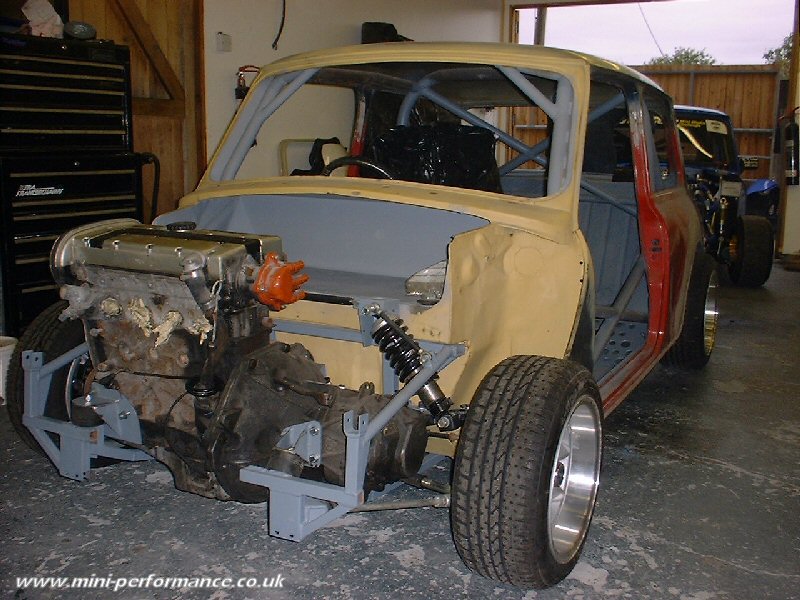
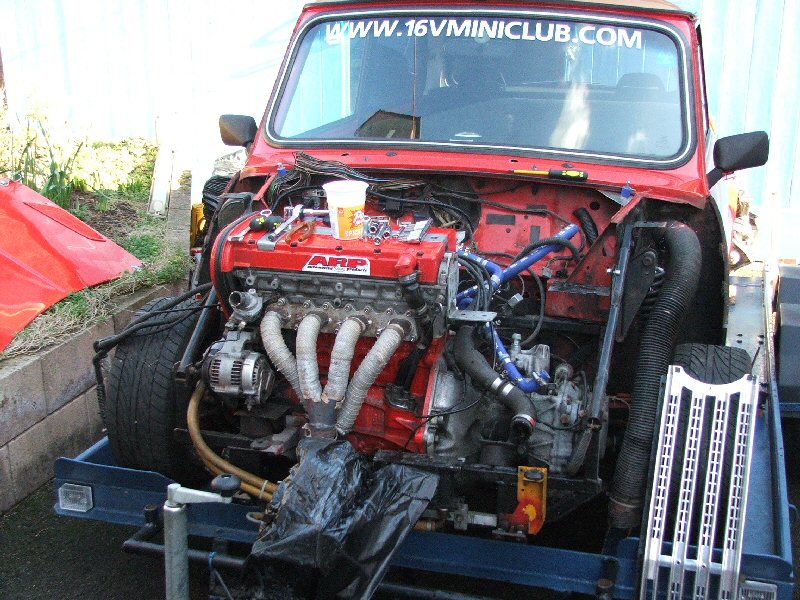
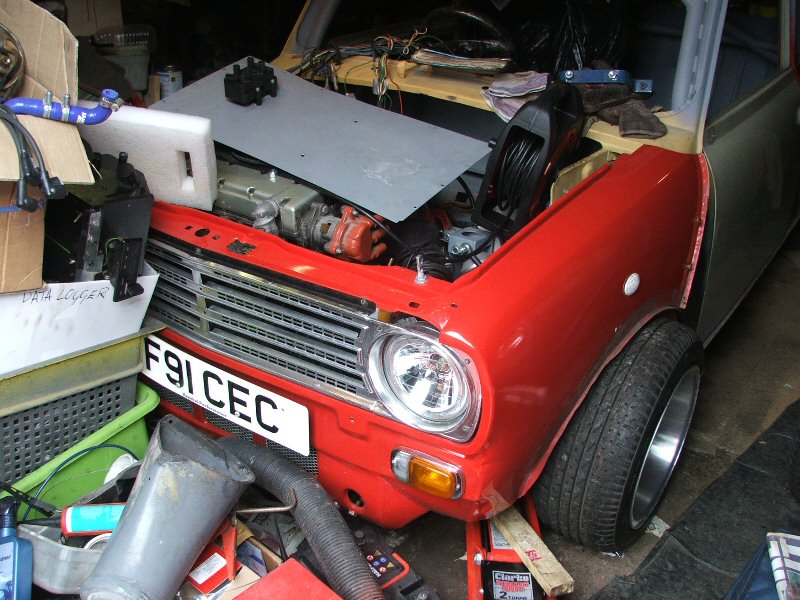
Home for now
Fitted the throttle bodies.
Just clears top frame bar
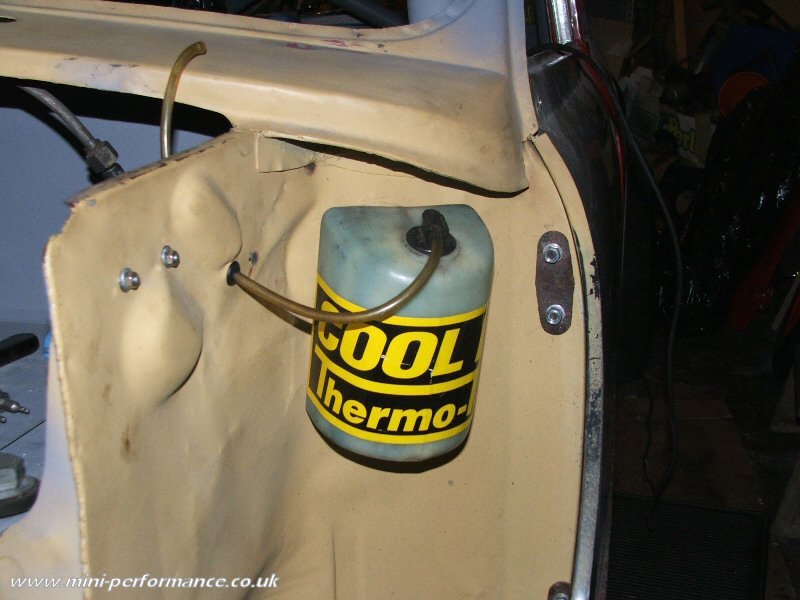
Washer bottle mounted
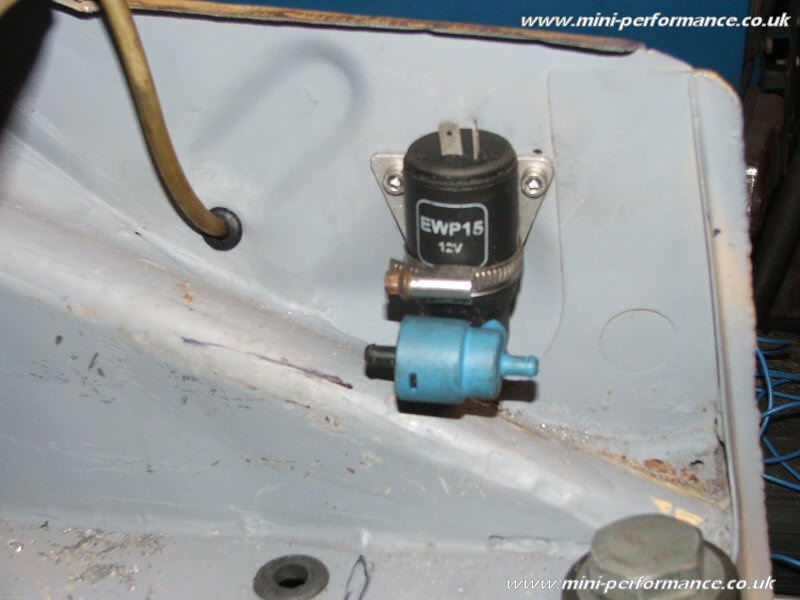
And the pump
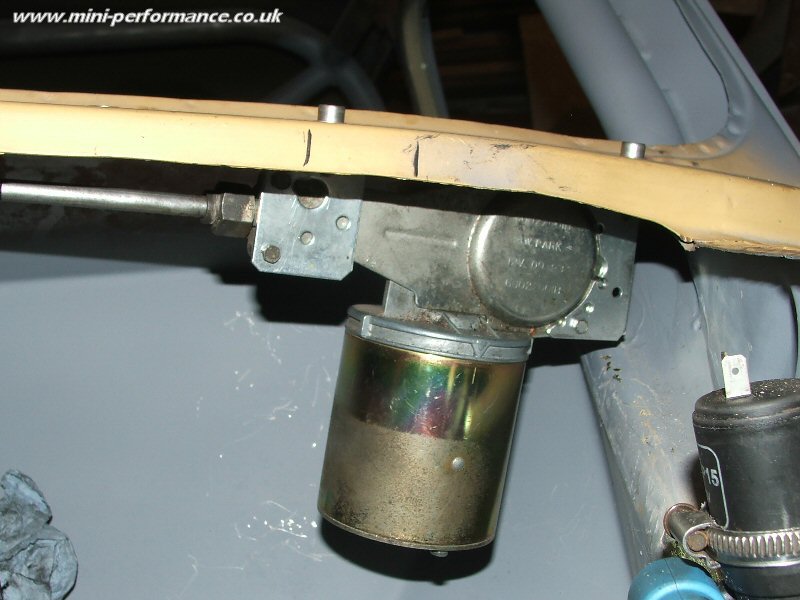
Wiper Motor and bracket.
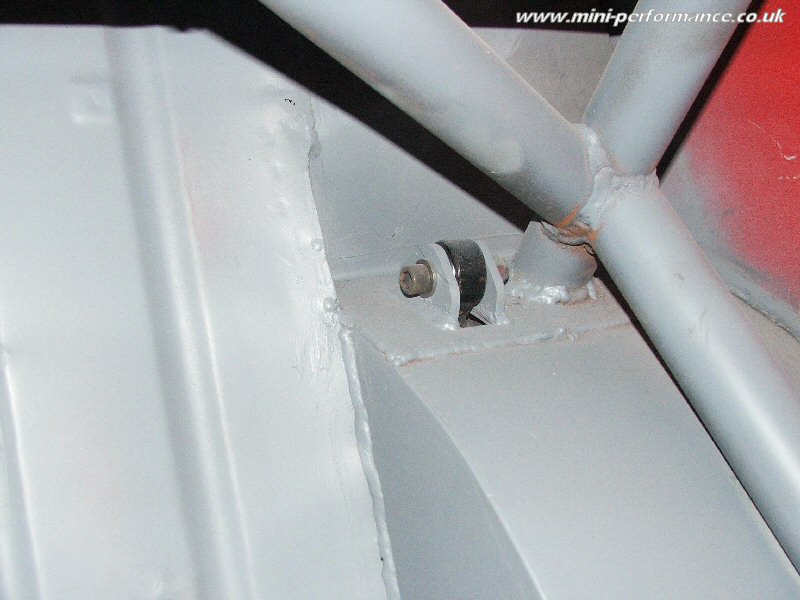
Rear Coilover Mounts
Race Top Arms
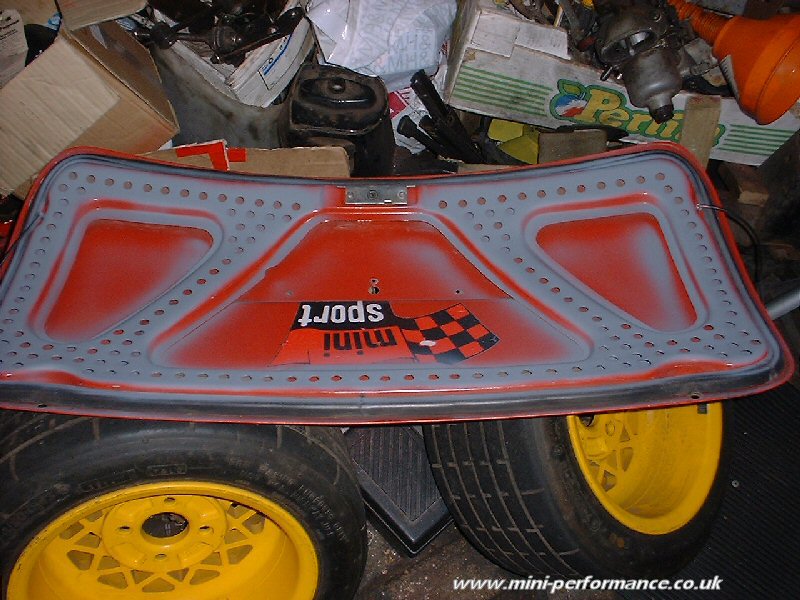
Decided to lighten the steel bootlid.
Its the only one that fits well.
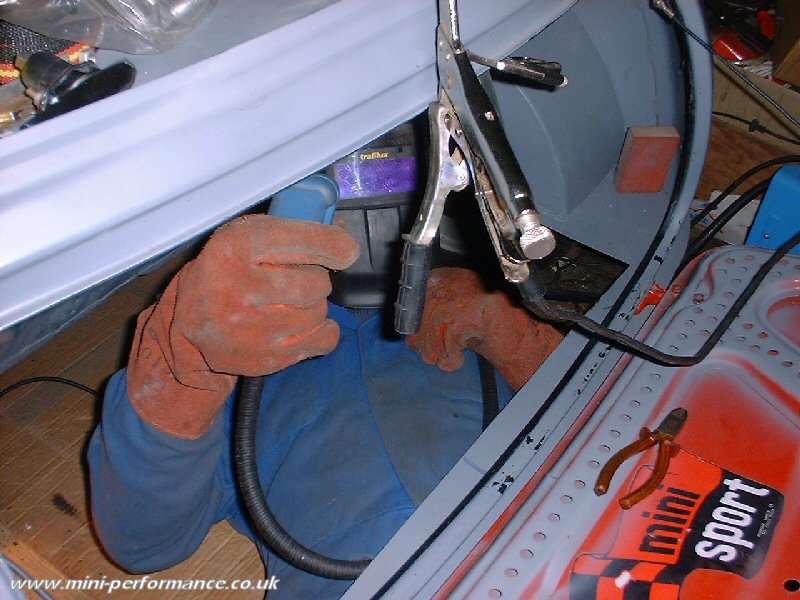
Welding in new bootlid locking plate.
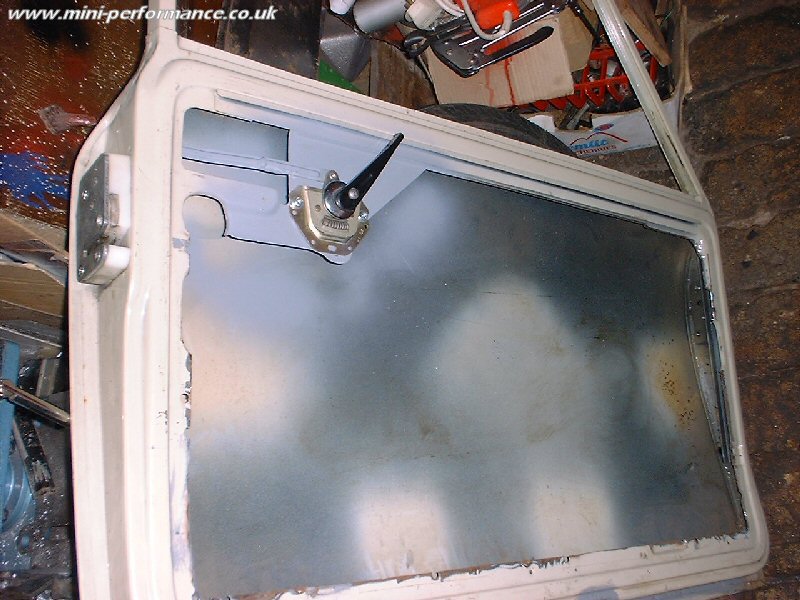
Lightened doors prior to start
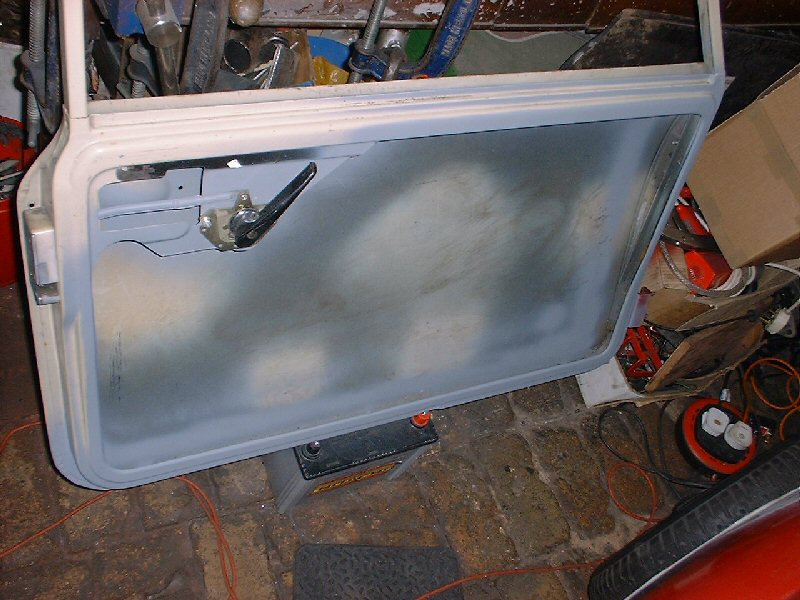
After trimming
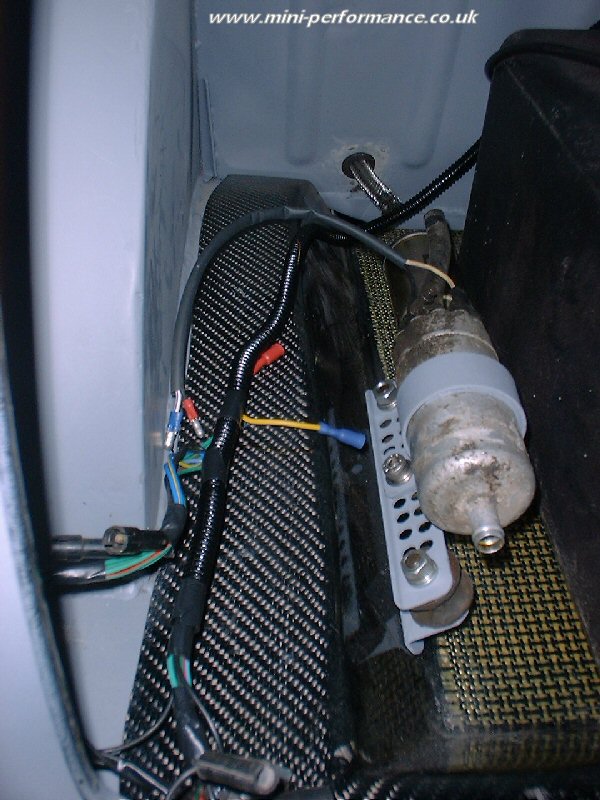
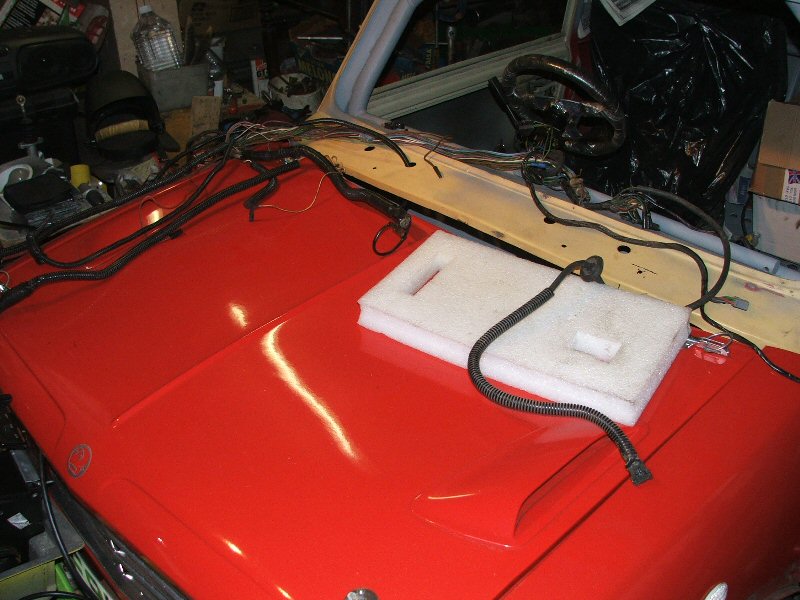
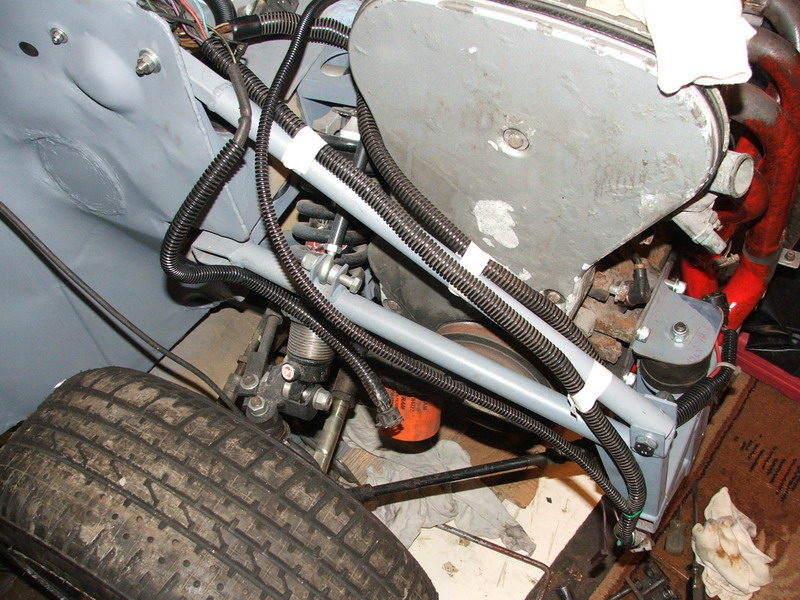
Fuel pump and wiring loom in place

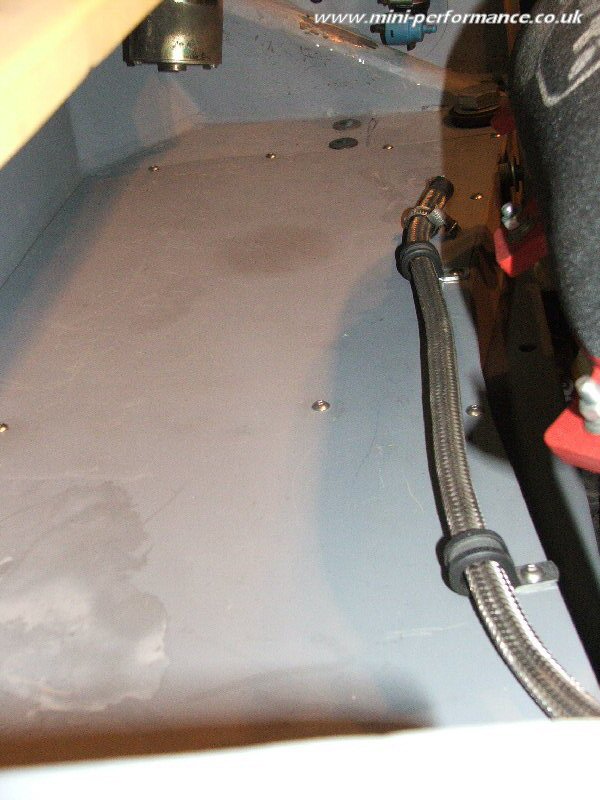
Fuel lines P-clipped into place
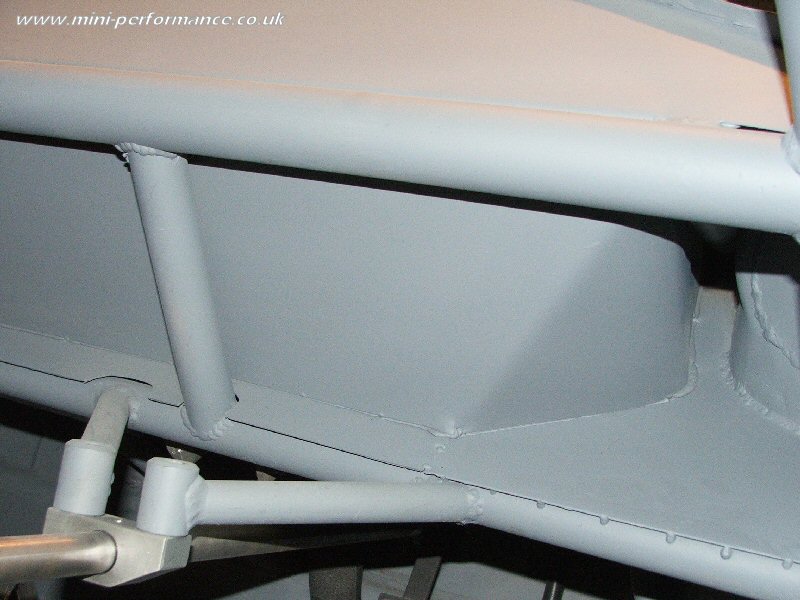
Bulkhead Air Box
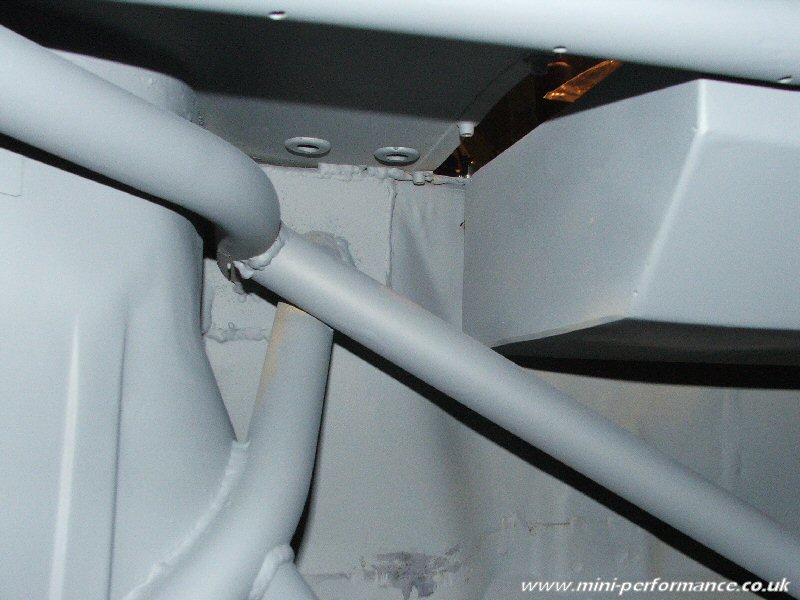
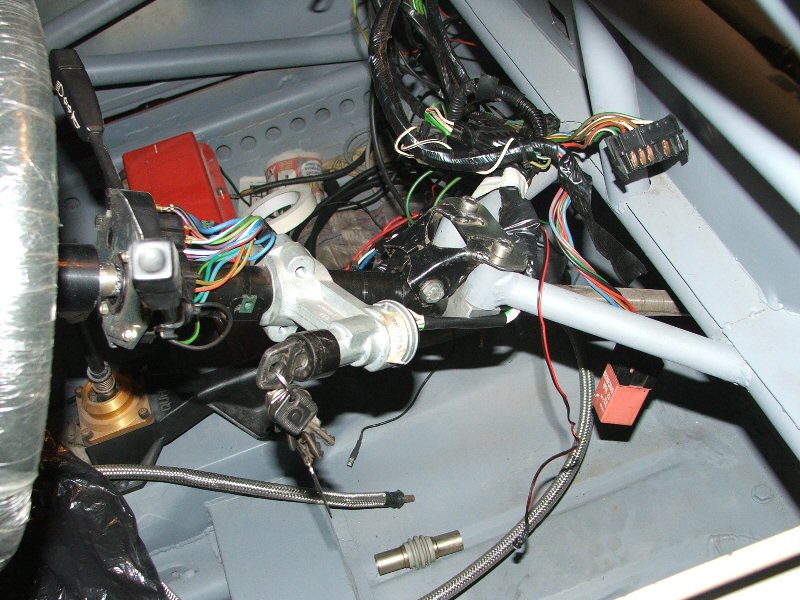
Steering column support
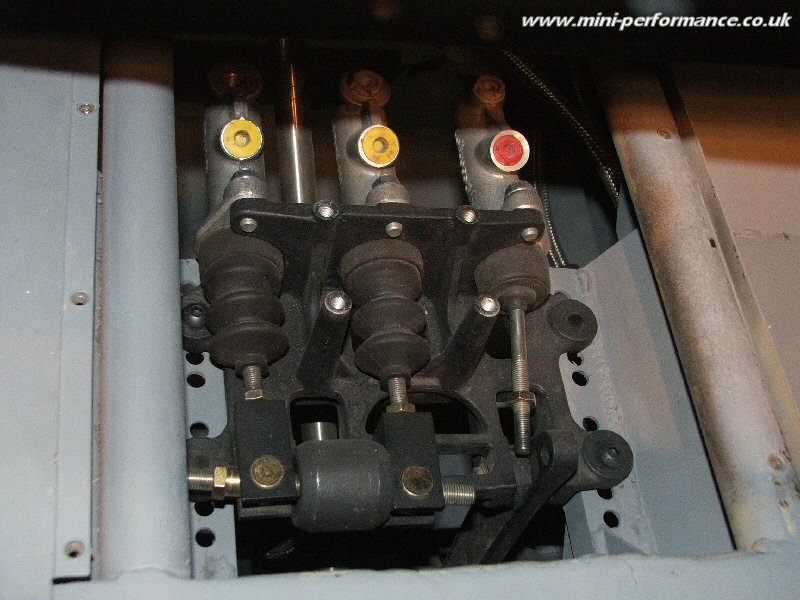
Pedal Box
Air Box 'Tray'
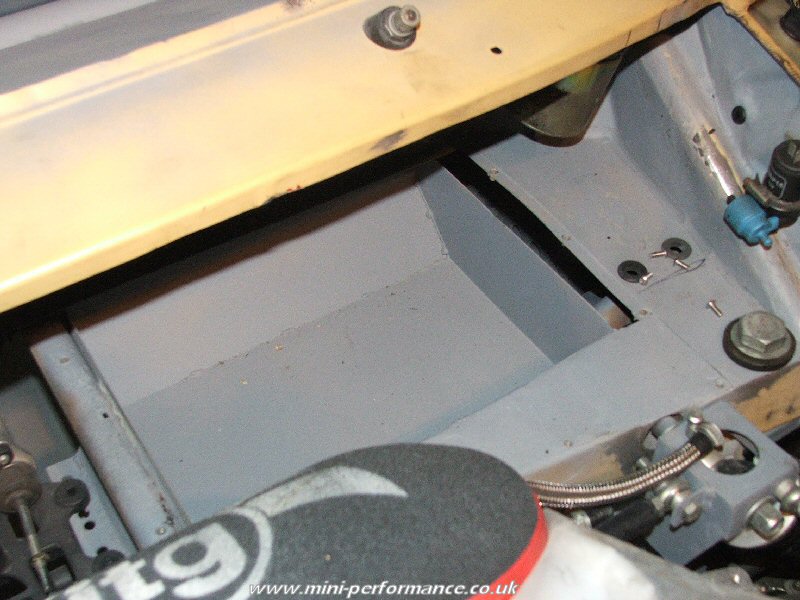
Air Box Tray from top

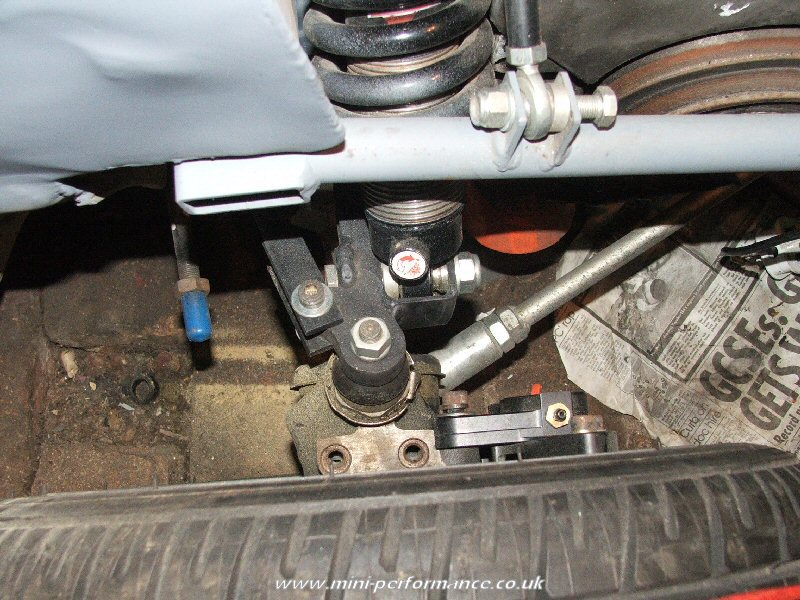
Hydraulic Handbrake
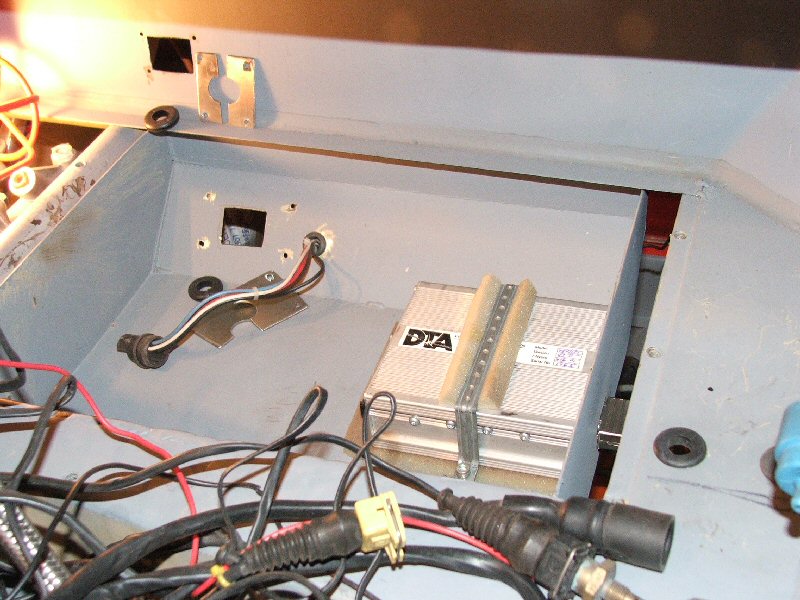
Ecu Mounted and holes for wiring done
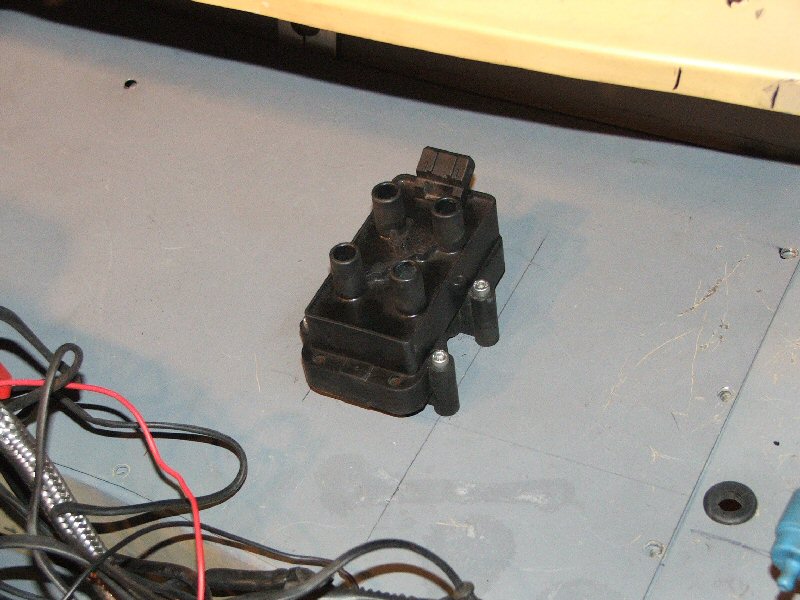
Coil Pack fastened in place
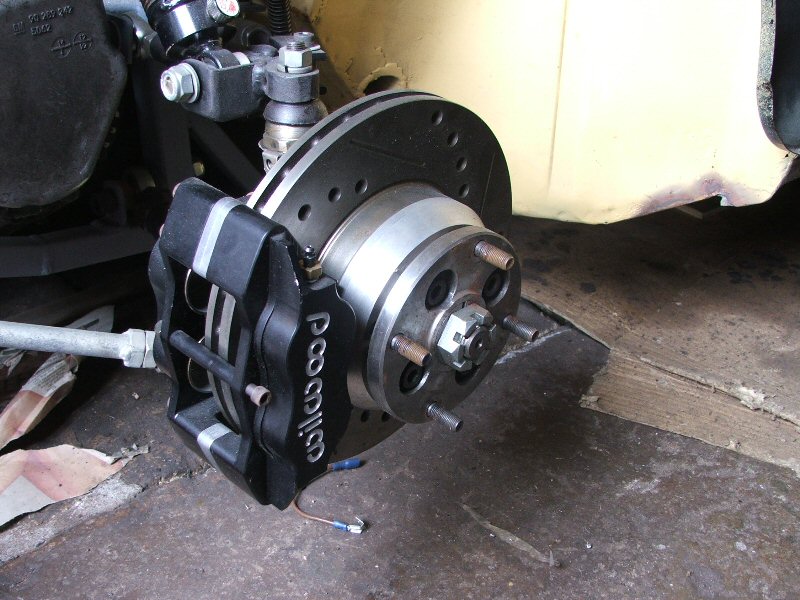
Big Disc conversion
240mm Golf Discs, Wilwwood 4 -Pots
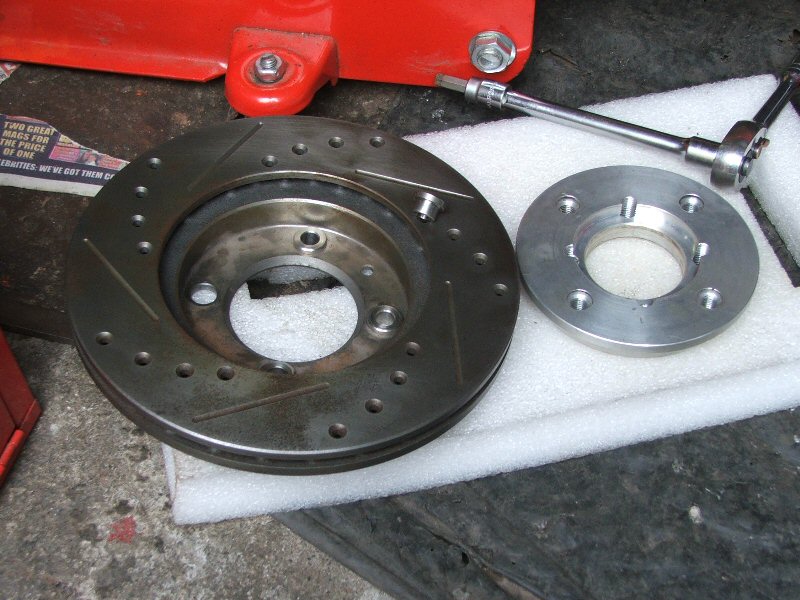
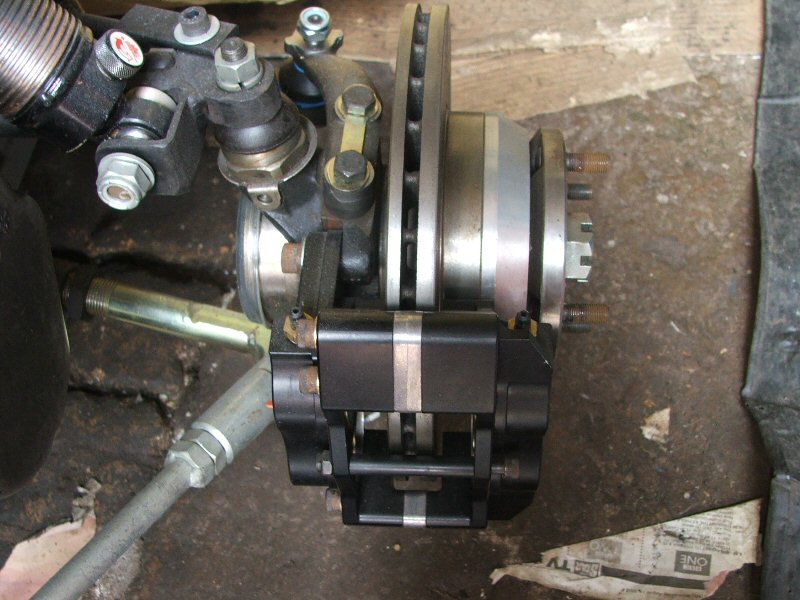
Disc and Bell
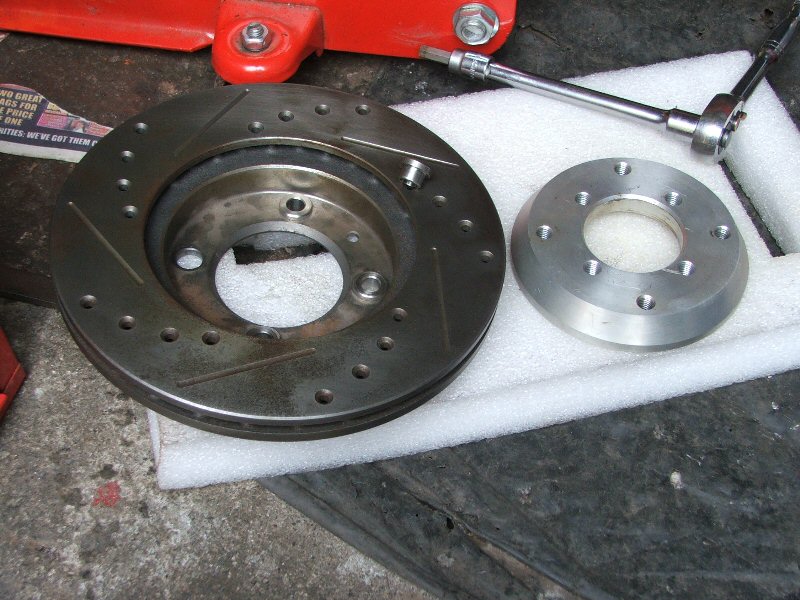
Disc and Bell
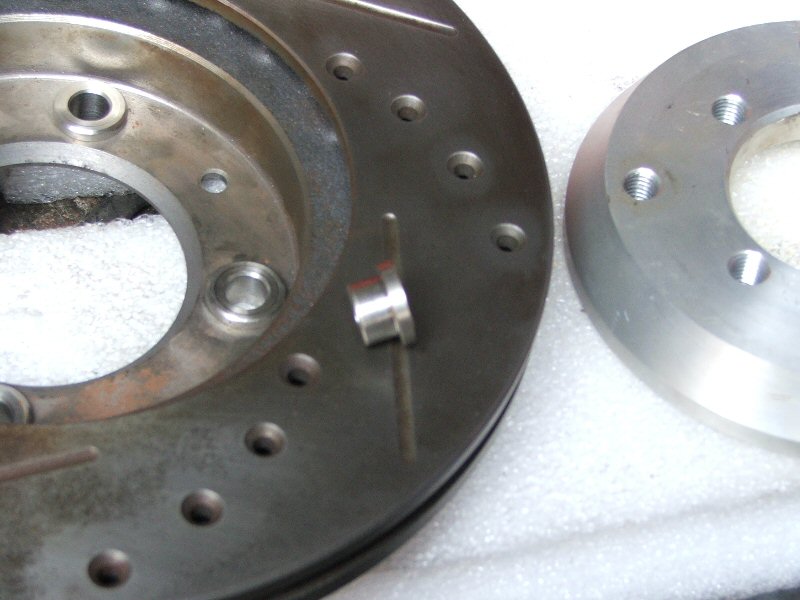
Spacers
Front off old shell
Suspension off
Engine and frame off
Fully stripped
Front onto new shell, doesn't seem to fit as well, needs checking out?
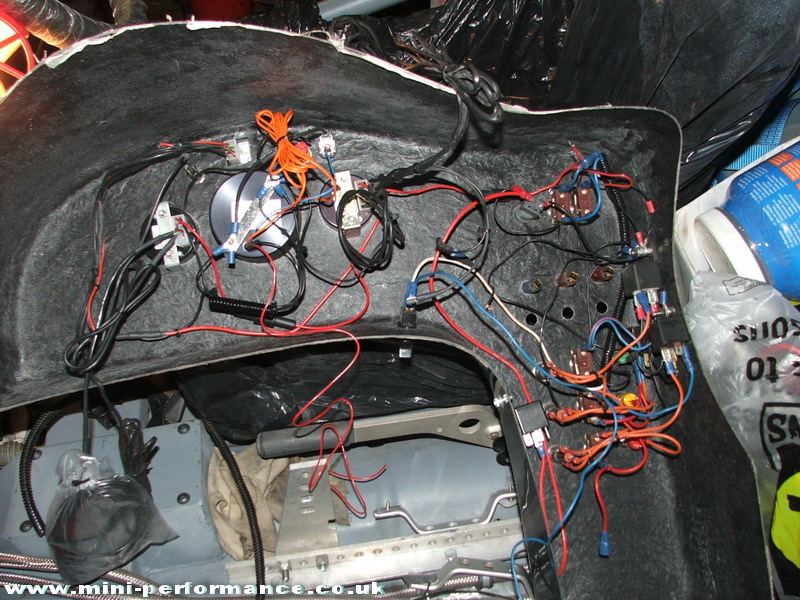
Wiring loom laid out into respective positions
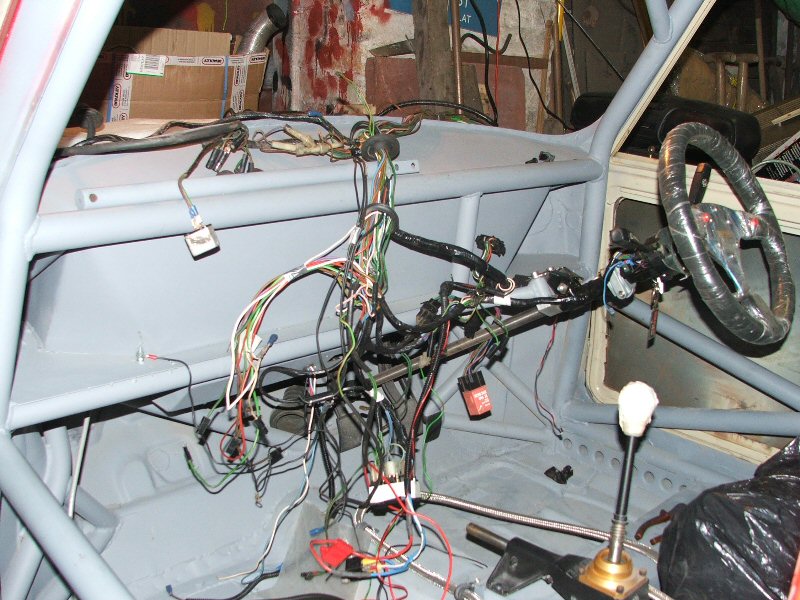
Its not a million miles off being in the right place(s)
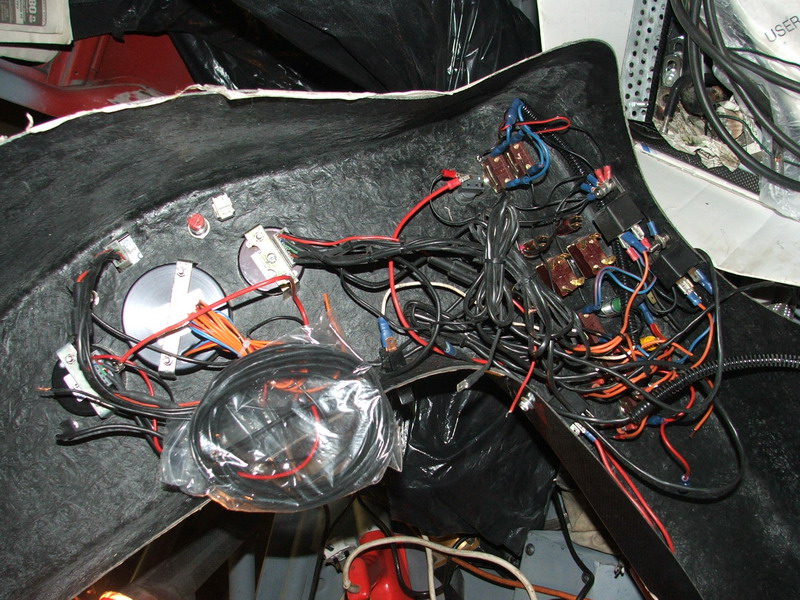
Switchgear mounted.
Its tidier than it looks in picture.
.JPG)
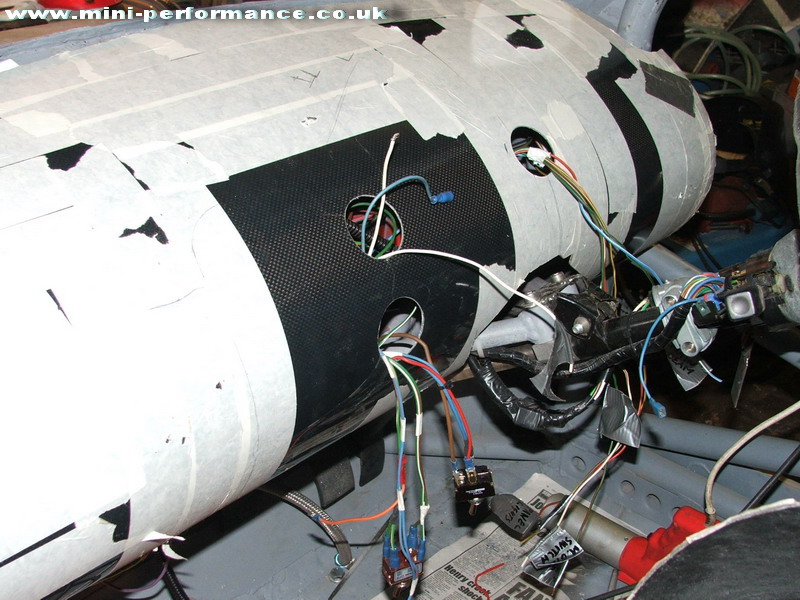
Time to start the fitting of the Curley Dash. First stage is trimming the ends around the cage and cutting clearance for the column supports
.JPG)
Almost fitting, the column support area still needs more trimming out yet.
.JPG)
Offering up the central console, good fit right from the off - NOT!
.JPG)
Nearly there! TOP TIP Cover everything with tape to avoid scratches and make marking up easier.
.JPG)
Looking useful now, got the warning light module to fit underneath the speedo and switches with tell tales (ie more led's) for the hazards, fog and lights.
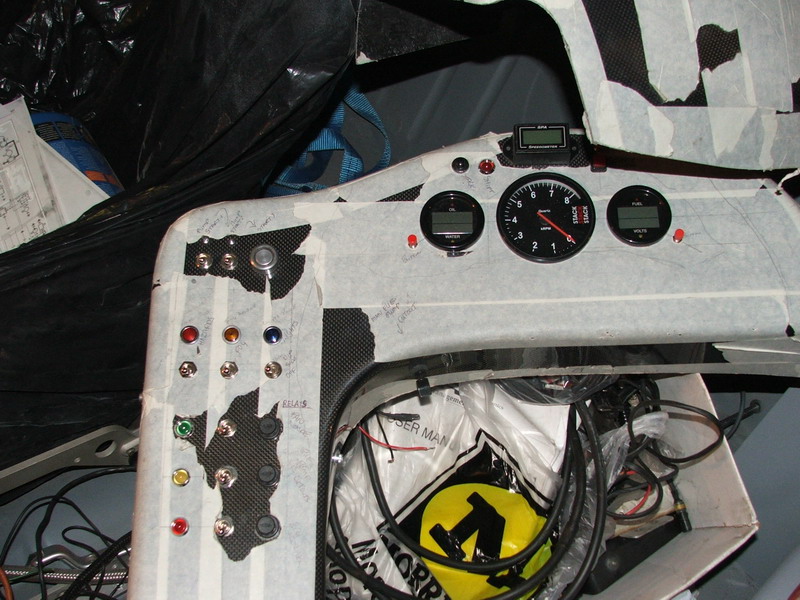
Got all the switches and lights in.
Wiring in the back will be interesting...
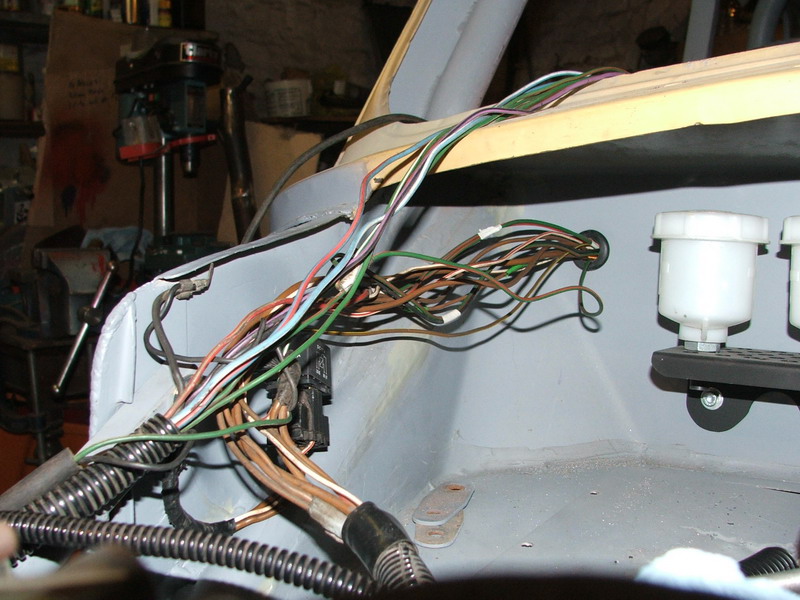
Main loom passing through bulkhead
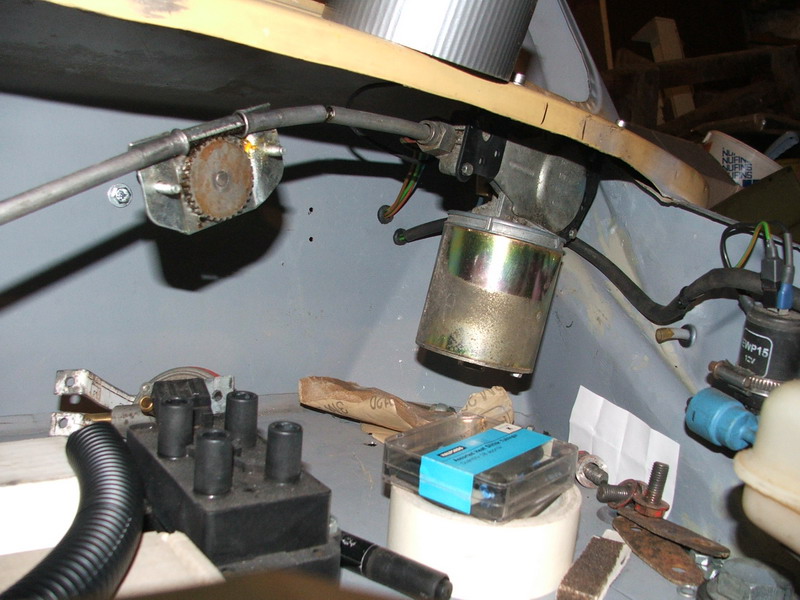
Washer and Wiper wiring
Still more untangling sorting to do
Loom to lights etc as before
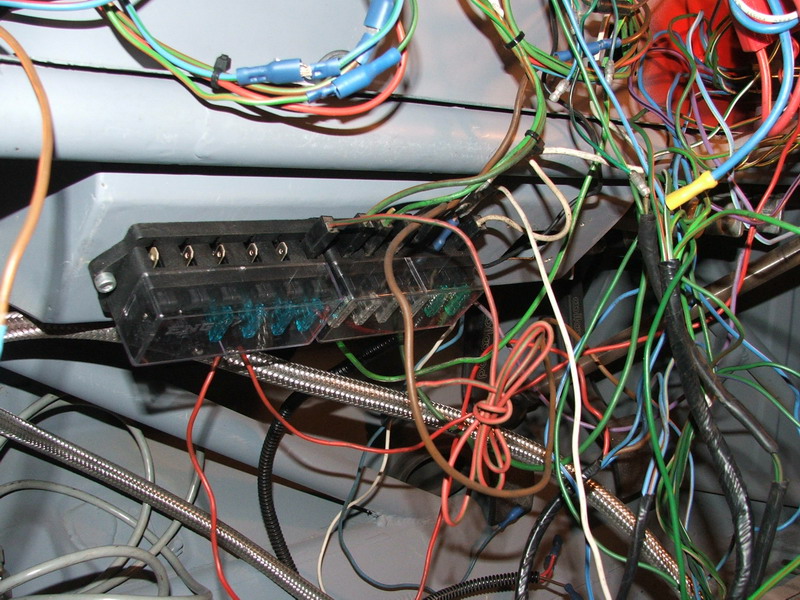
8 way fuse box
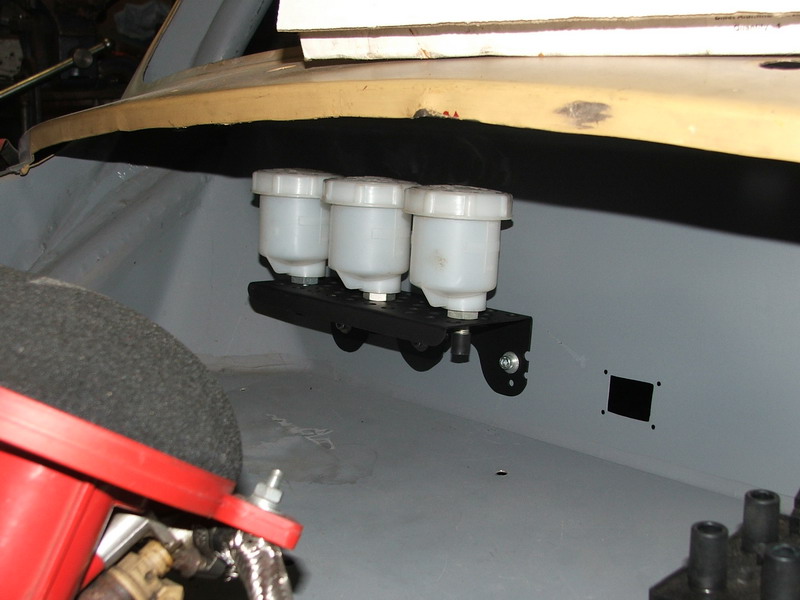
Made a bracket and mounted the brake and clutch reservoirs.
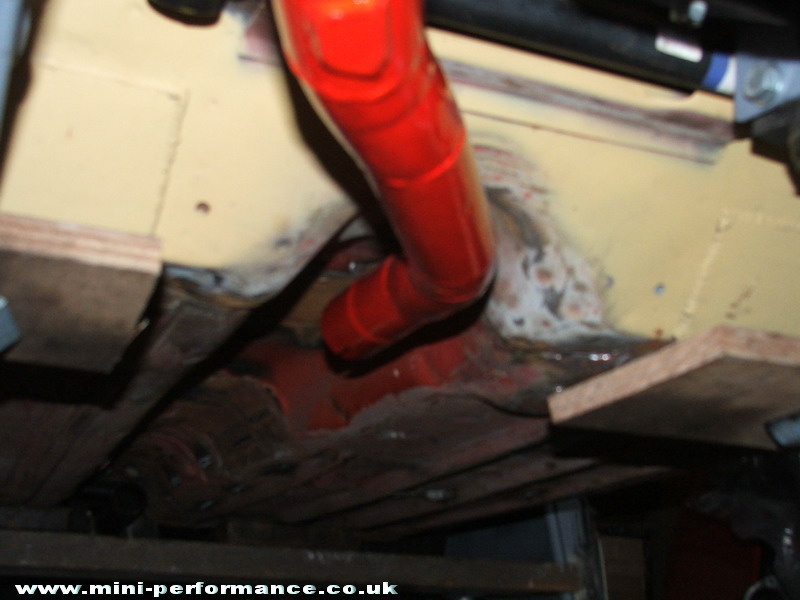
Cut and shut the exhaust
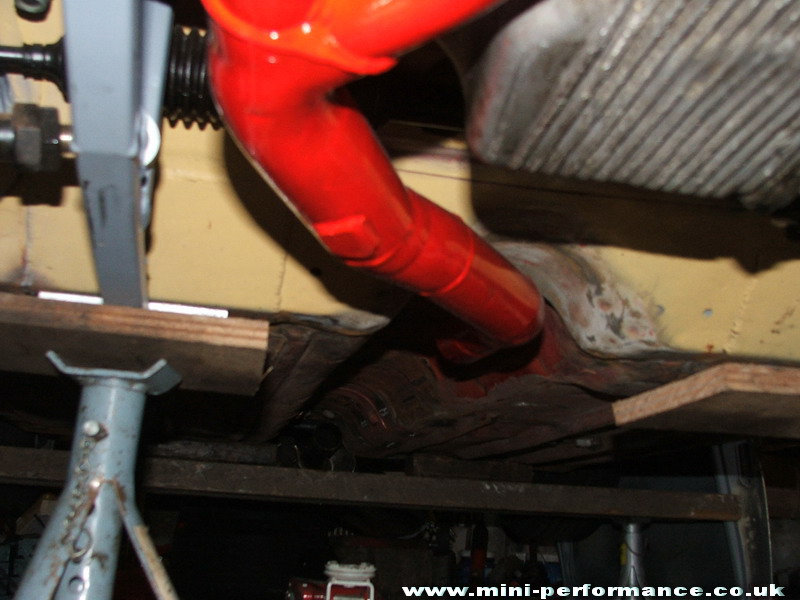
Now not as low as before and fits much better :)
Looked at instrument wiring, easy really, power and earth all come from the right, sensors are all independant, fuse.switches.relays need re-doing, lost track of what does what!!!
Holes drilled for wiring to pass through.
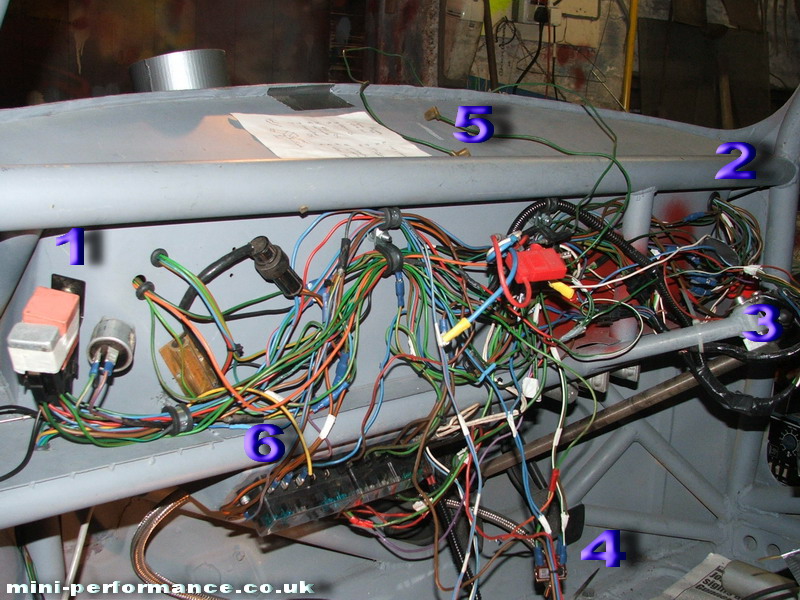
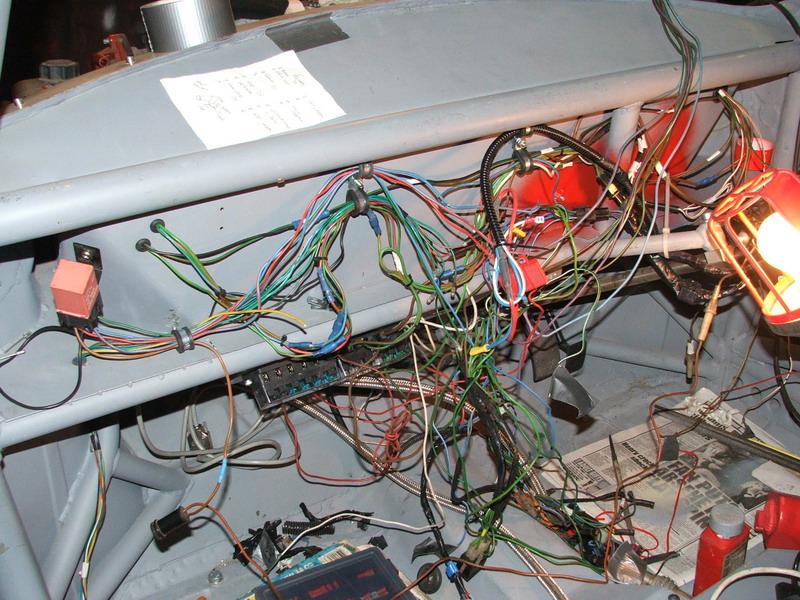
Modded Loom..It all works!!!
1. Lighting relay/Dim Dip resistor, hazard and indicator flashers.
2. Main loom from starter solenoid and to front lights
3. Warning light wires, indicators, oil pressure etc
4. Hazard/Lighting/Fog switches
5. Brake light connections, will need altering
6. Yellow wire to fuel pump.
Also you can see the starter button loom (big red bit and black convoluted tubing) as well as the ecu and coil loom (black tubing at bottom)
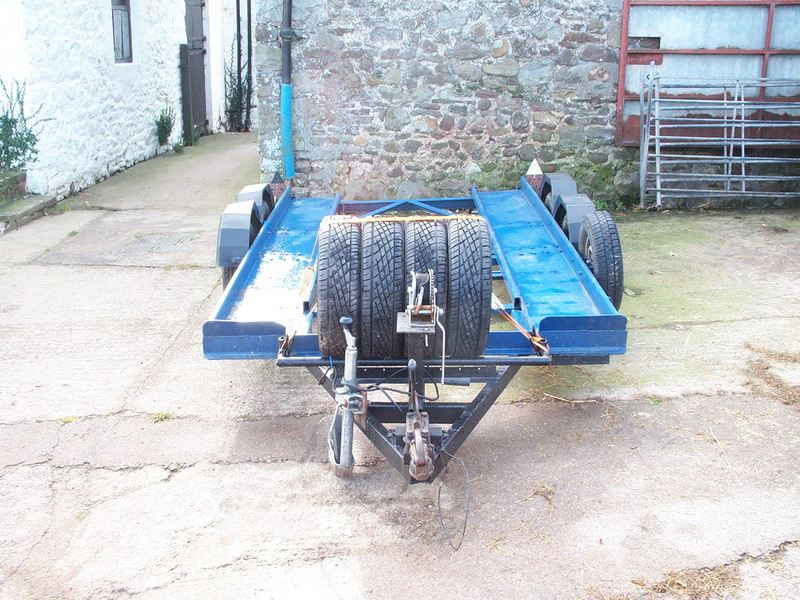
As well as doing the car i was thinking ahead and came across this trailer for sale.
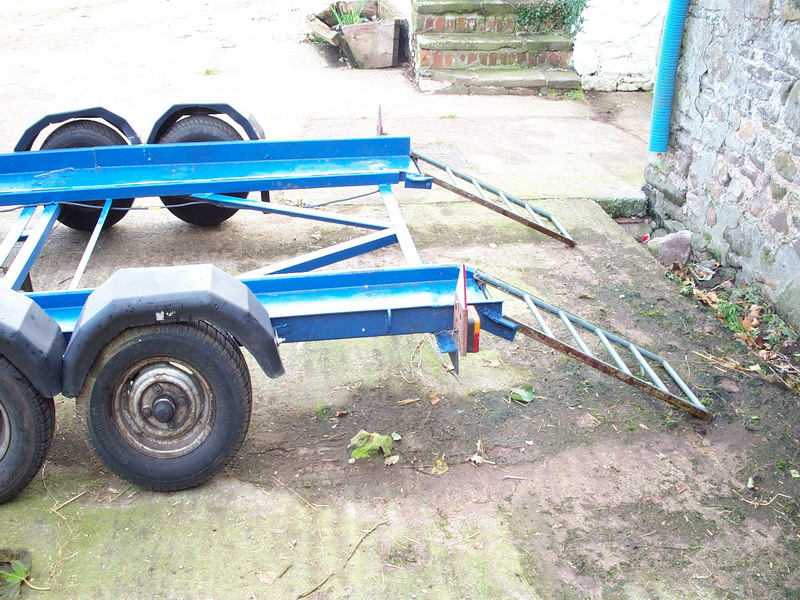
Short ramps!!
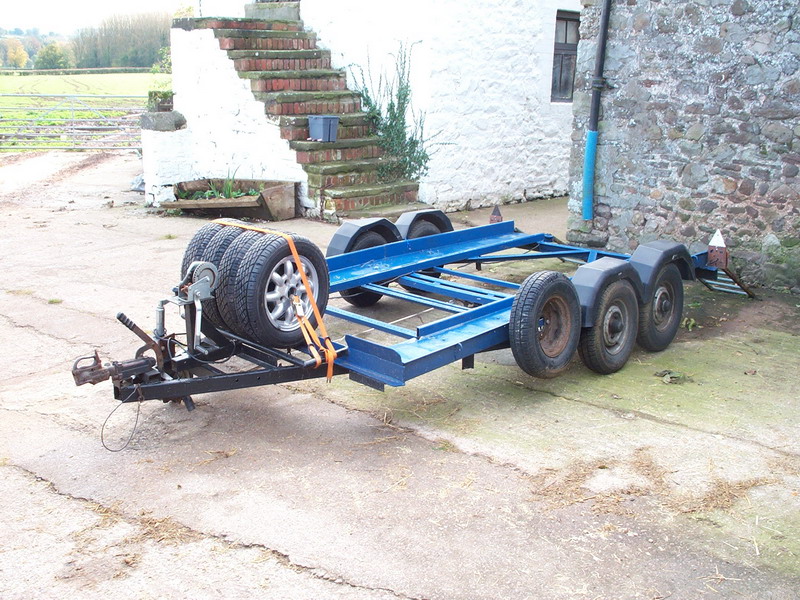
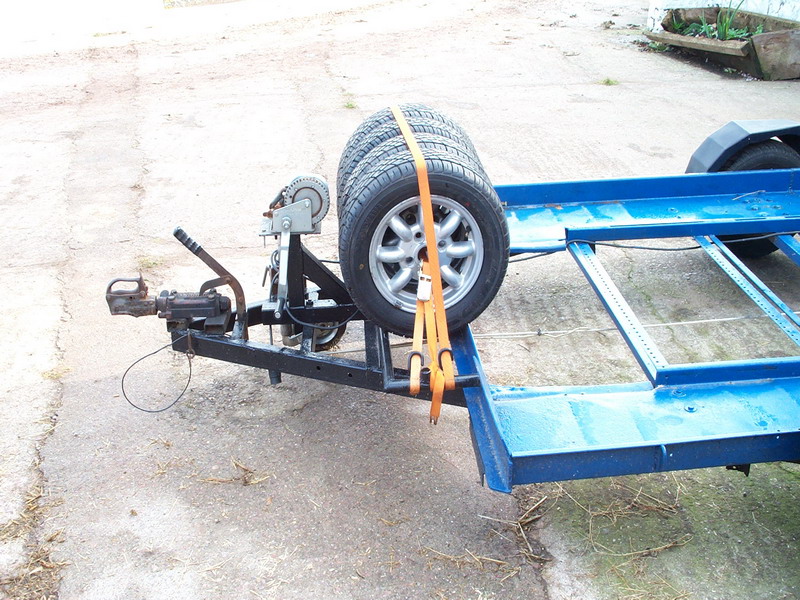
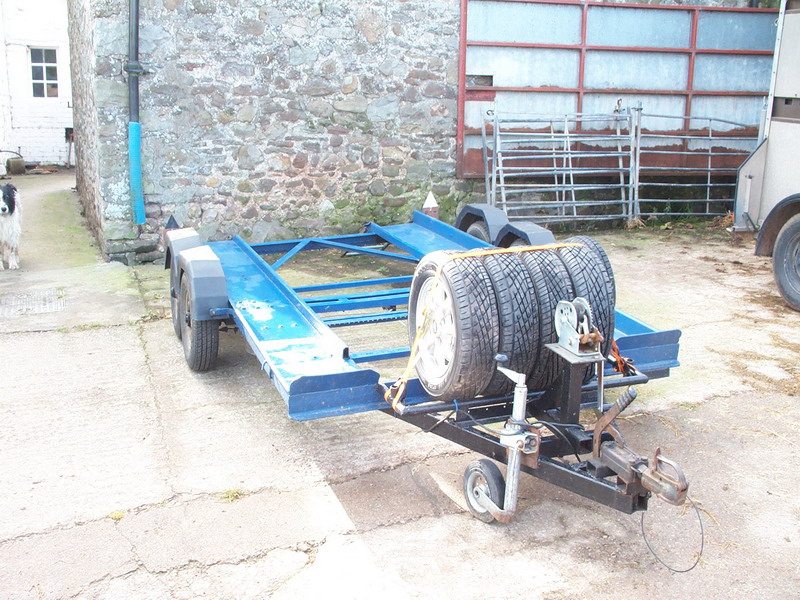
Its had a bit of work, new ramps made, front wheels moved forward (was nose heavy), tie-down points added etc etc

This included making it legal with proper lights etc
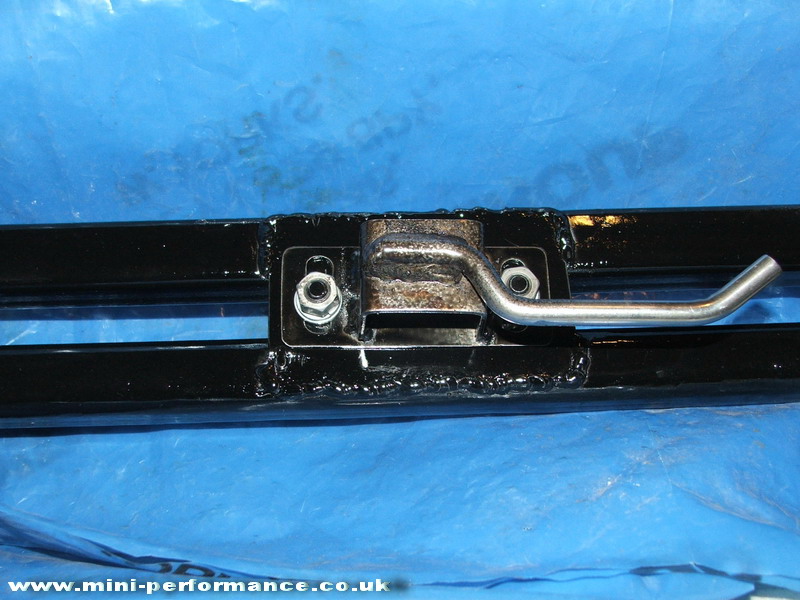
Another job complete, chopped my play mini side exit exhaust to create a centre exit and fabricated this adjustable centre hangeron the rear beam.
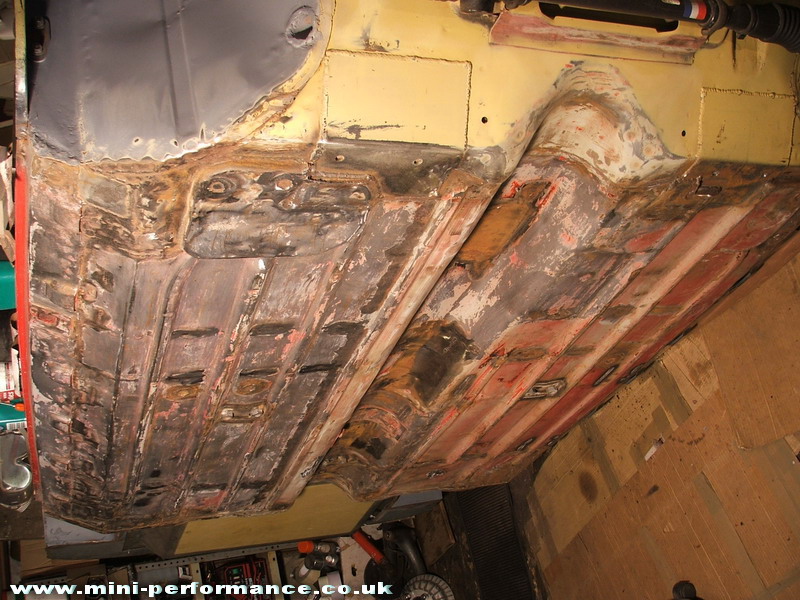
Tipped the shell on its side and started to clean all the old paint etc off the underside.
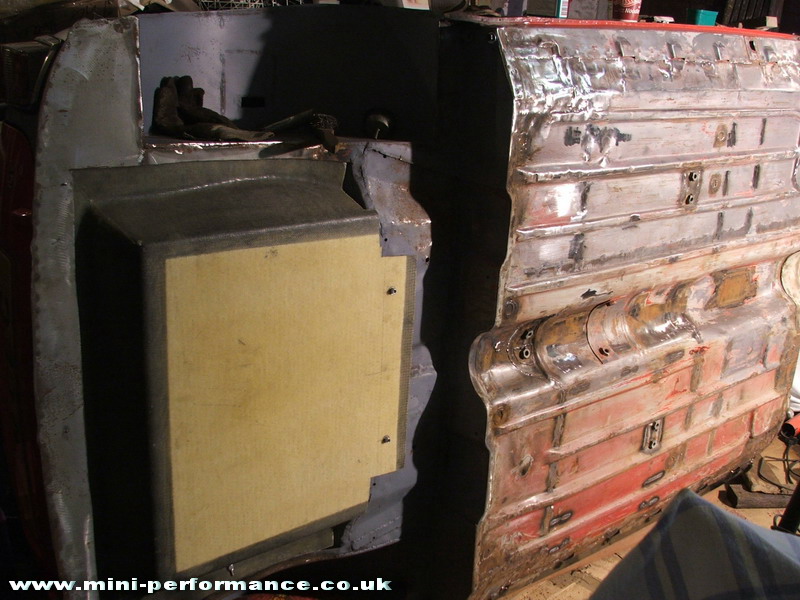
Due to the large amounts of fabrication done to the shell the floor is heavily distorted, nowt i can do about that!
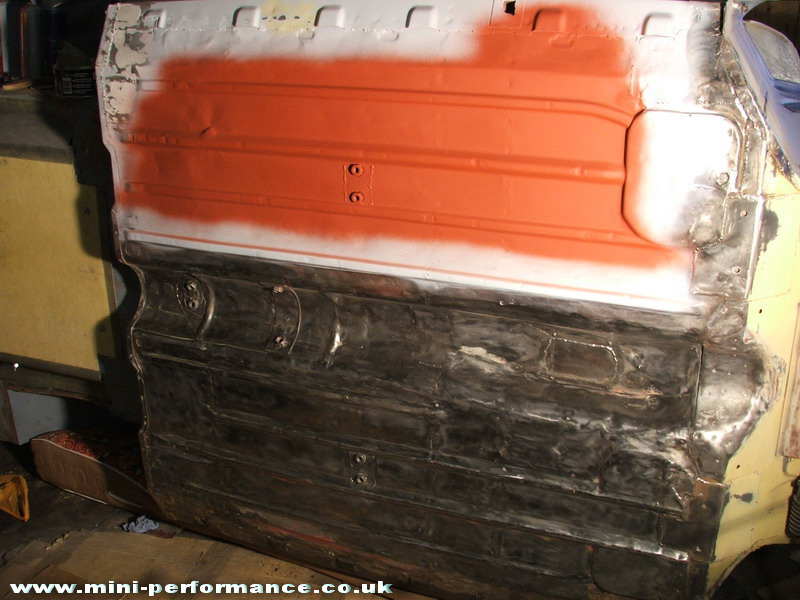
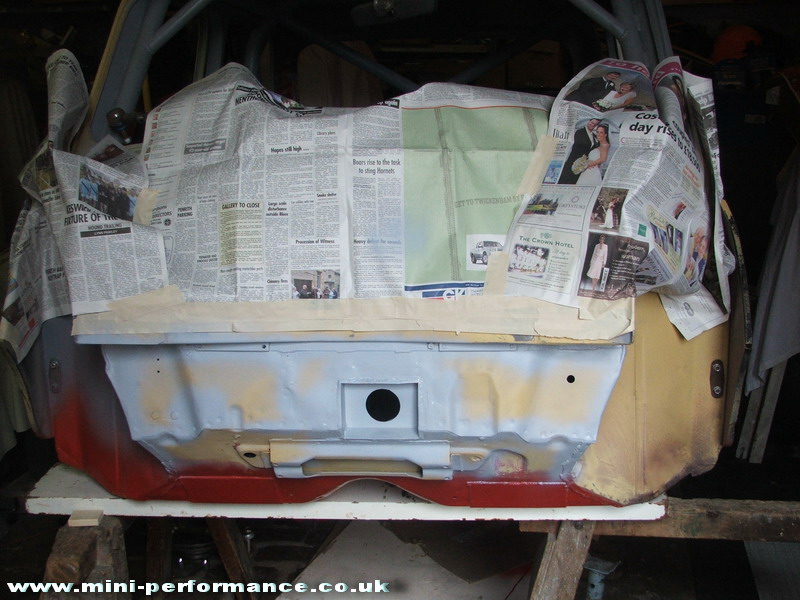
Got it back to bare metal, treated and primered, bit of filler in some places too.
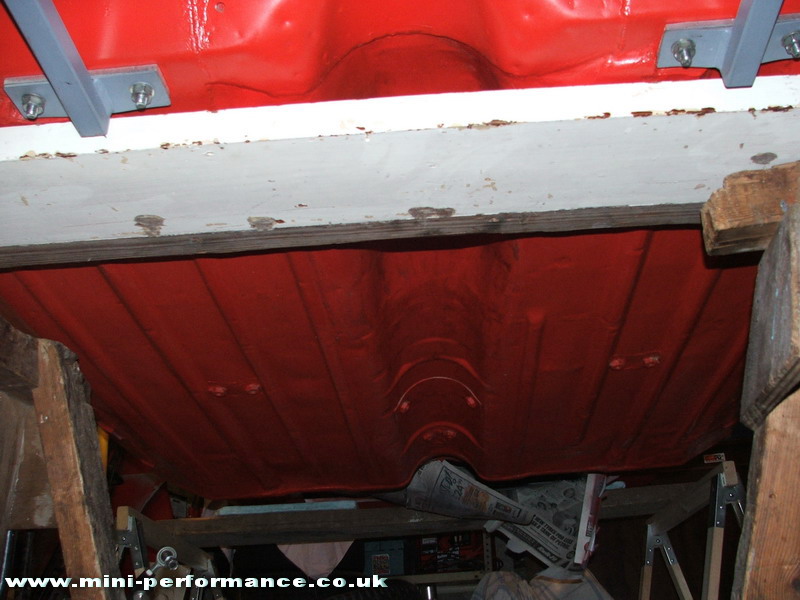
All painted in proper colour (first use for my spraygun!!), then brush waxoiled, and put right way up on trestles, bloody hard work on your own!
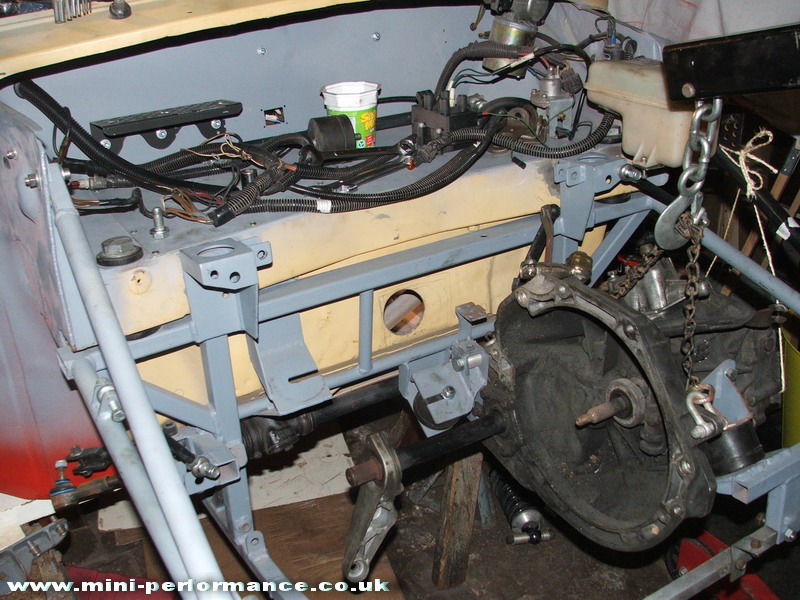
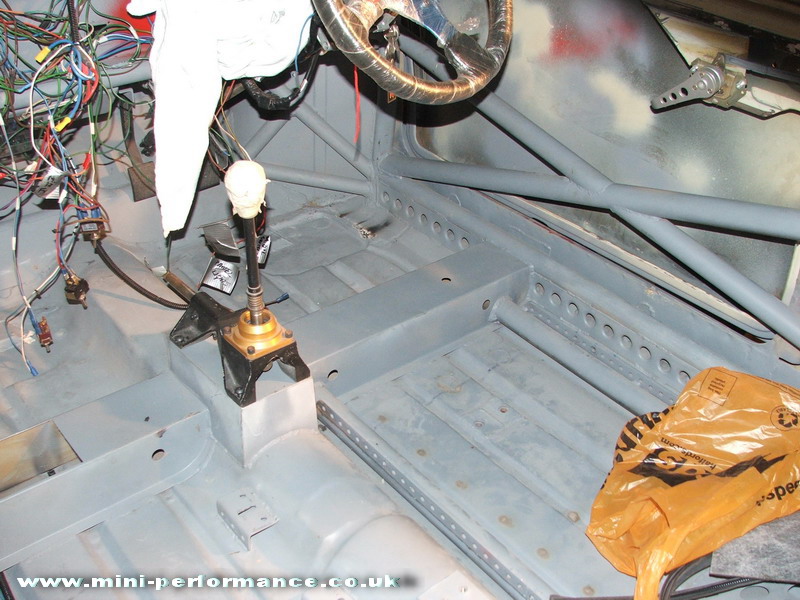
Fitted the frame and gearbox / shift linkage to check alignment of existing hole (too high and wrong place for quickshift)
Started removing interior bits and pieces prior to paint prep.
Completed bulkhead box, welded in and treated any rust etc.
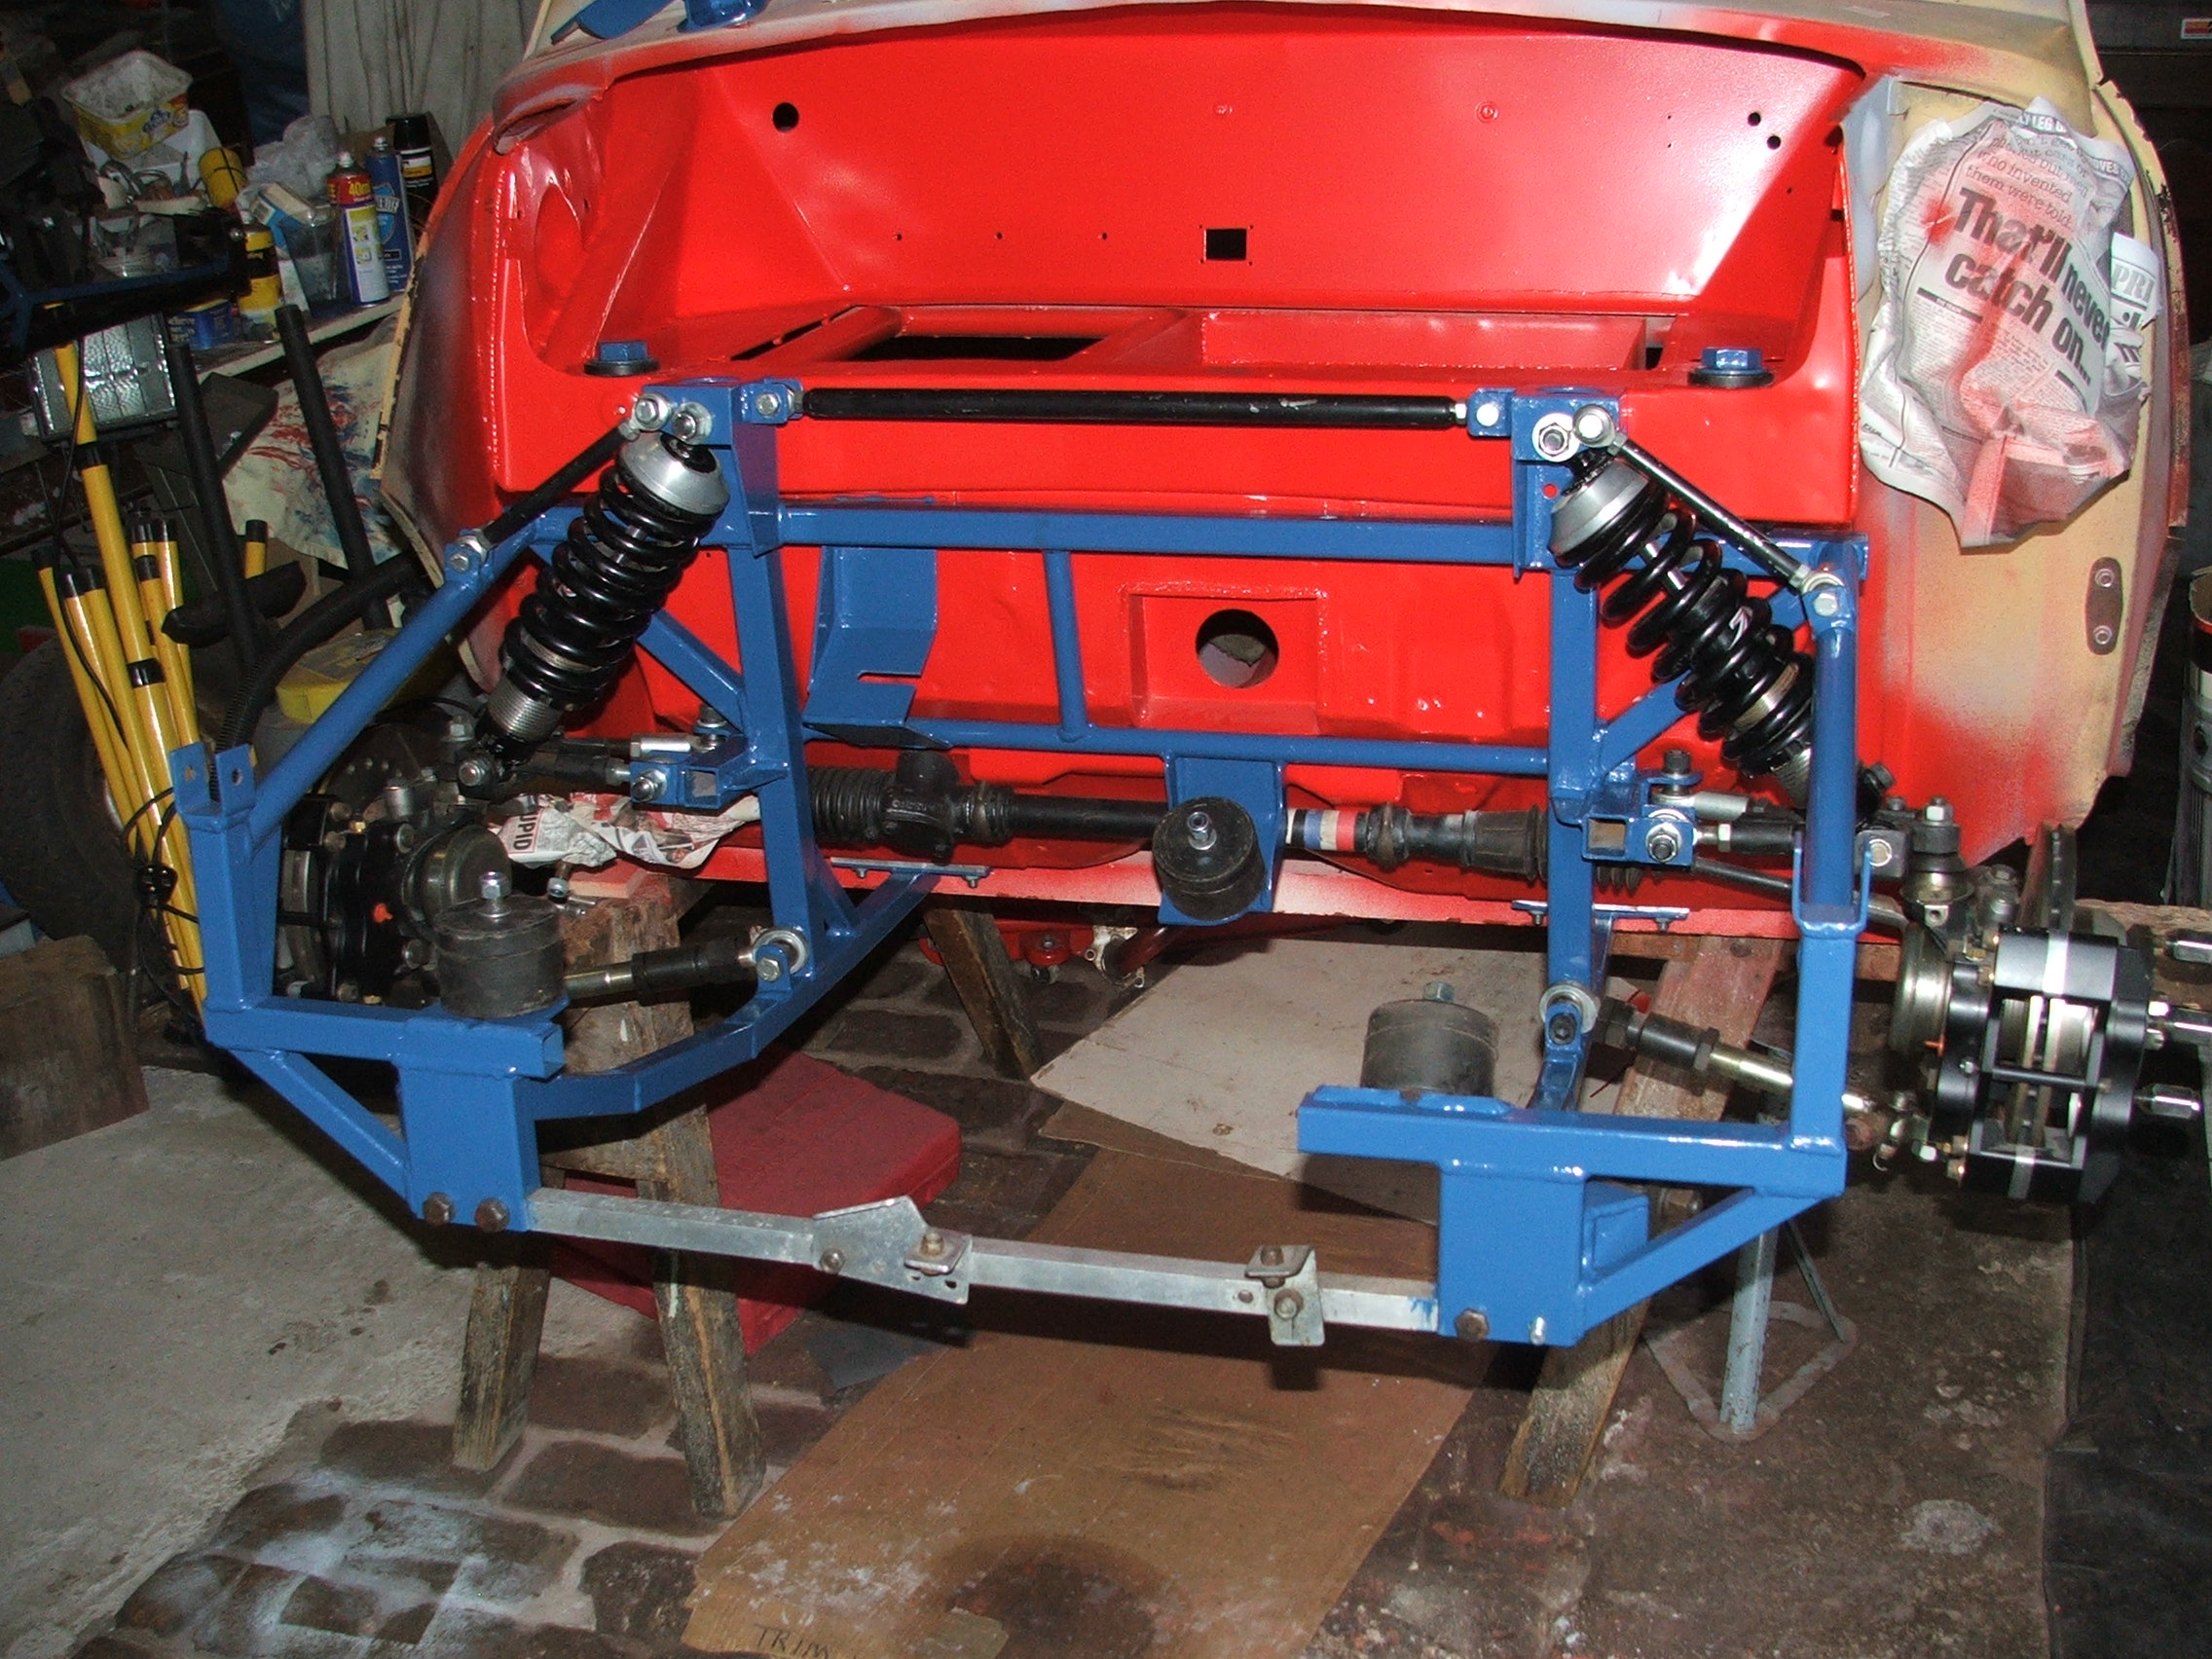
Painted up front subframe and fitted hubs and suspension.
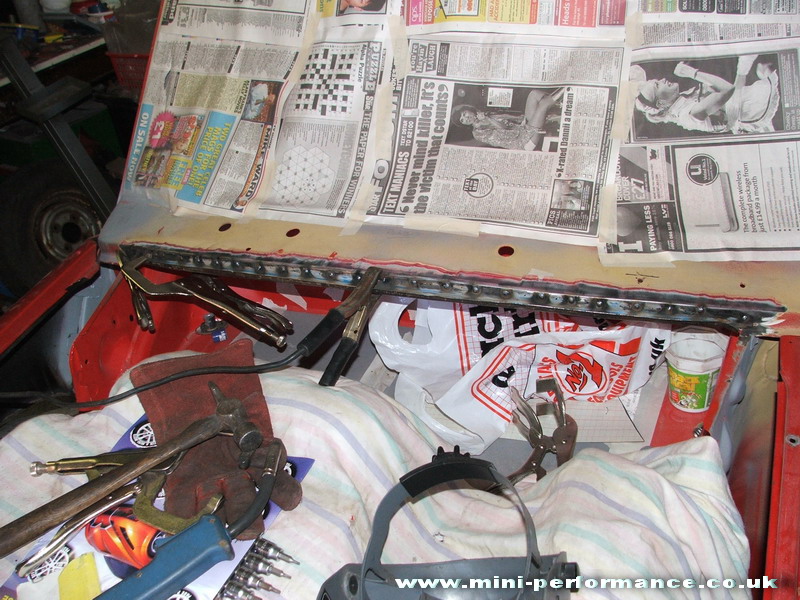
Second hand scuttle panel lip welded in place

Smoothed off and some paint on
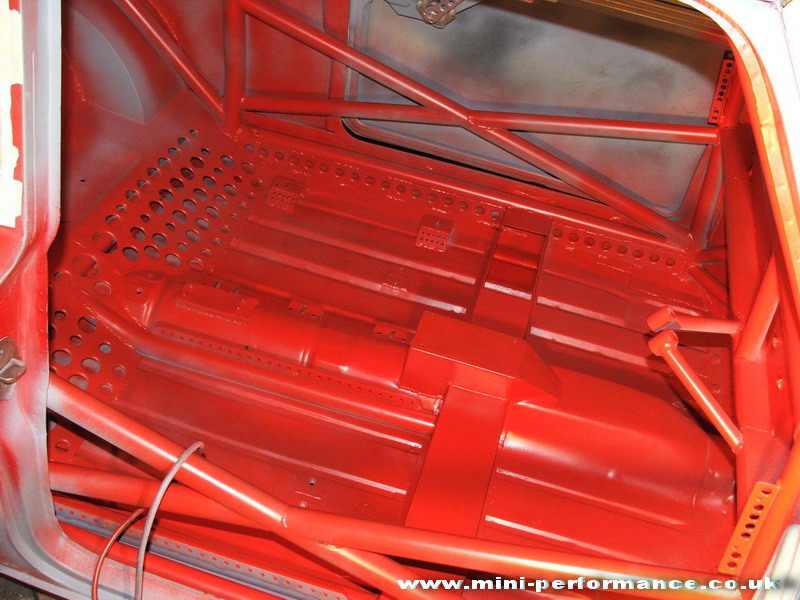
Interior with first few coats of paint, lots of tricky to get bits though!
 More coats added, filling in the gaps
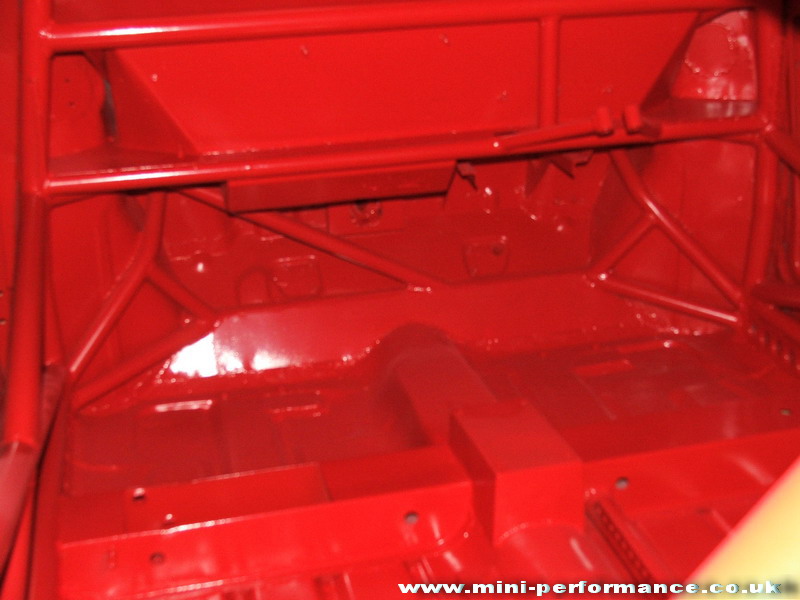
Starting to look better now
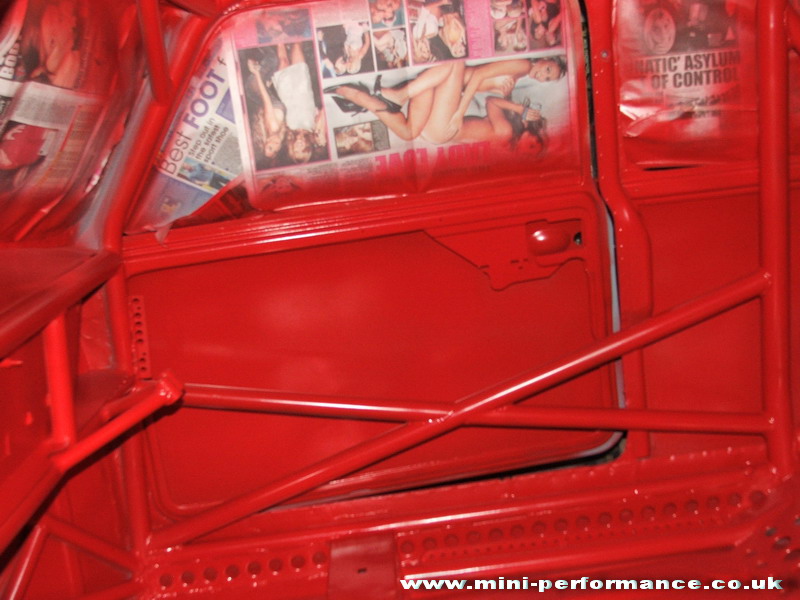
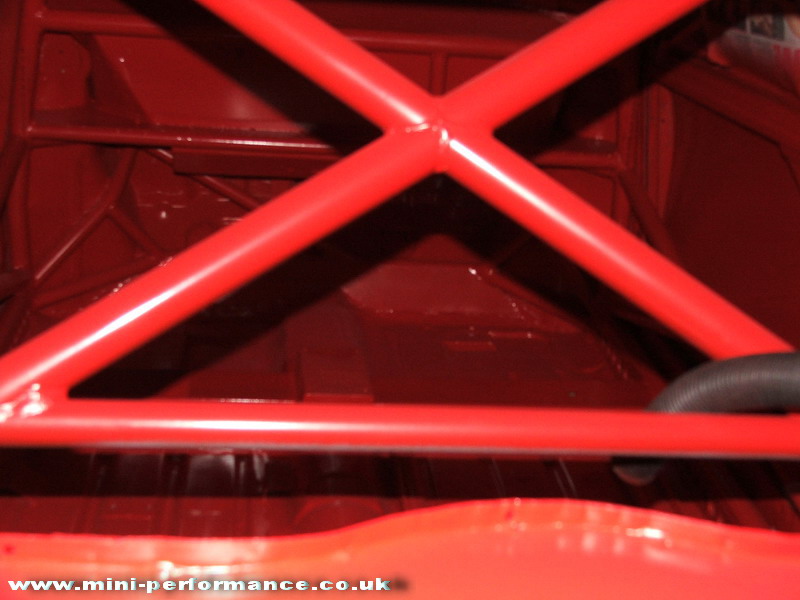 Lots of cage to try and get coverage on
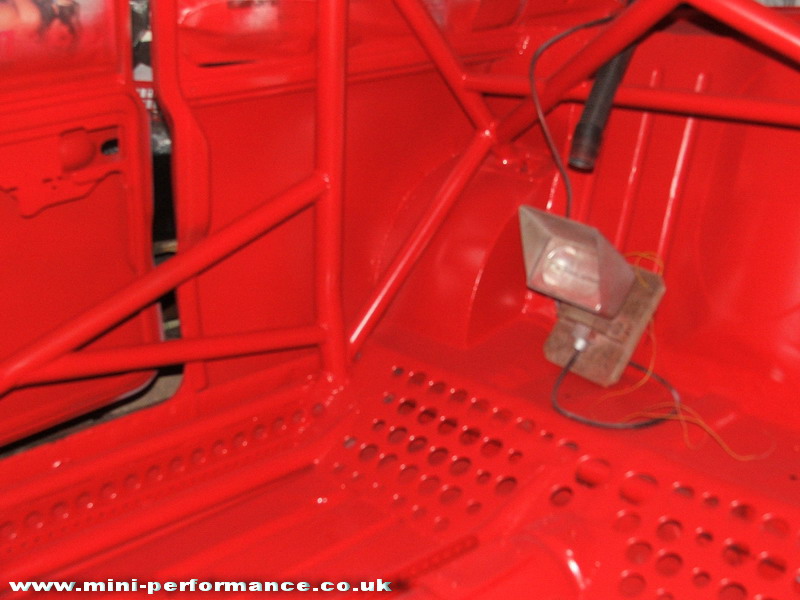
Lots of paint later....
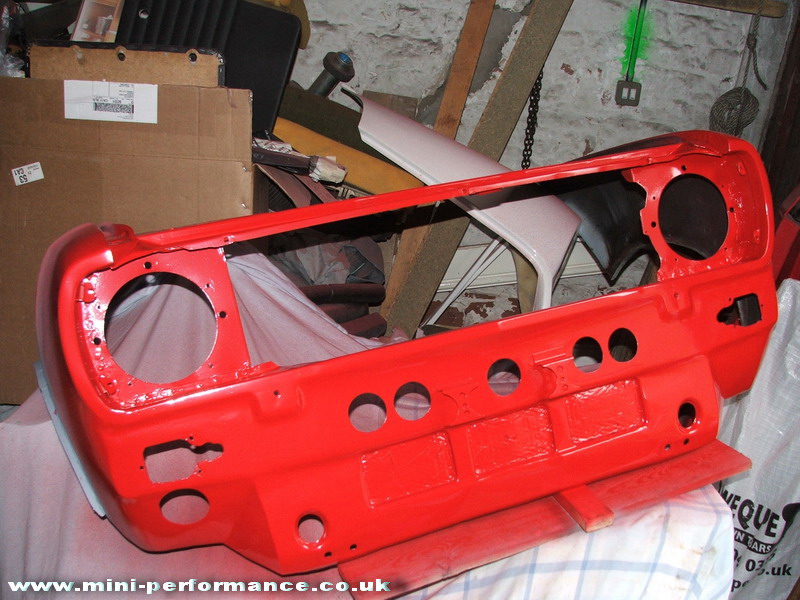
Few mods and more paint to front.